The boys’ updated room {ta-da!}

Finally! We are (almost, nearly) finished with the boys’ room makeover. Since there wasn’t going to be on a vacation this summer, I figured, why not spend that money on sometime more tangible. And the boys’ room was ripe for a makeover. The last time I did anything substantial to their room was 7 years ago when their beds were built.
Now. If I could go back in time, I’d tell myself NOT to paint the room dark navy and the beds dark gray. (Well, one would hope I’d use my time travel for more important purposes, but trust me, this weekend there was nothing more important.)
Let’s get to the good stuff first…before and after pictures. I admit, their room was in quite a state when I took the before pictures. But if I’d waited for them to clean it up just so I could take before pictures, well, I wouldn’t have paint in my hair right now.


Okay, so I didn’t do a great job taking pics of the same angles, but you get the idea. Here are a few more:


Here is what we did:
- painted the walls Alabaster (Sherwin Williams) and the trim (beds included) ultra reflective white (SW.) I wish I’d gone with Behr paint, but SW was having a sale. I feel like the good Behr paint covers better and is about the same price as Sherwin Williams Cashmere on sale. Oh well.
Aside: on the advice of a friend, I got a paint sprayer and it really helped the primer go on quickly. And it was fun. But I didn’t want to put expensive paint in it (it has to be thinned) so it didn’t get as much use as I would have hoped. But it’s nice to have. - got these LED lights. This was basically what the room was designed around. They wanted light walls to show off the LED lights better. Ha!
- got a rug from Amazon. It’s soft and squishy and was super cheap. We don’t do rugs in our house, so I didn’t want to spend a ton in case it didn’t work out.
- removed all of the posters and (sniff, sniff) stickers from the walls. The original theme of the room (when the boys were 3, mind you) was “under the sea” so there were sea creatures everywhere. Linus was particularly sad to have to remove these Easter stickers he got from his preK-4 teacher.
- took down the ratty “curtains” that have been up forever (really just pieces of fleece on clips) and got light blocking 2.5″ faux wood blinds.
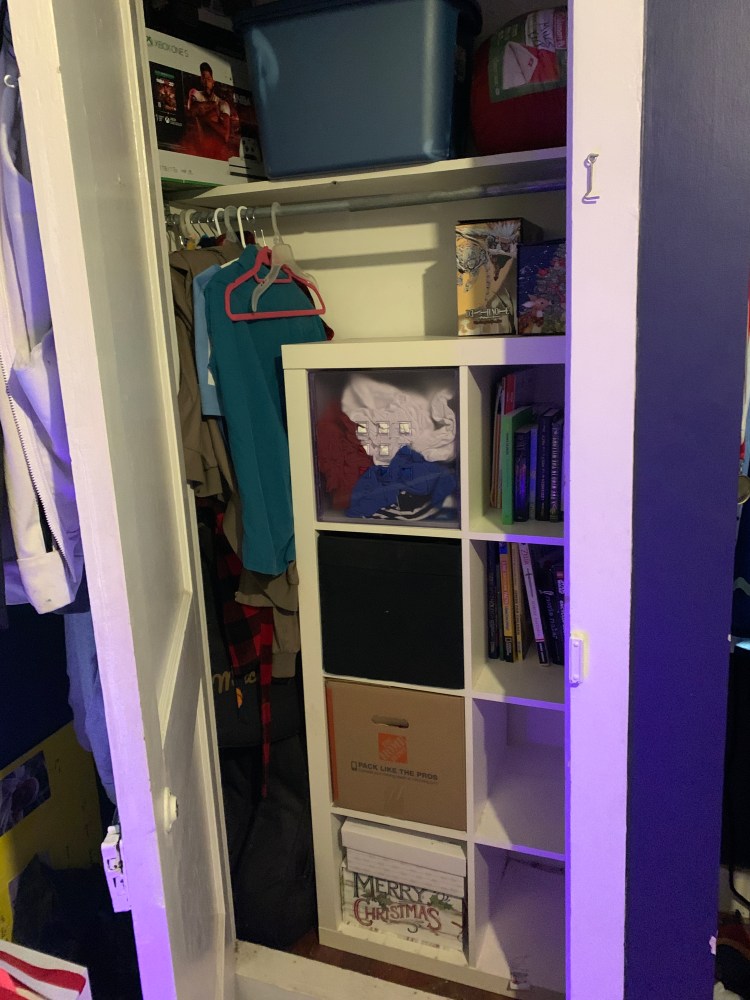
- put a set of their cubicles that were next to the old dresser into the closet instead.
- bought a new dresser! Real furniture! The one that was there before was a hand me down from a friend. I really think this was the first piece of furniture I’ve ever bought that didn’t have to be put together. (I mean, I love IKEA, don’t get me wrong, but I wanted something a bit more grown up, and that I could see in person first.)
- used some of the 46 zillion soccer jerseys the boys have to decorate the wall behind the dresser. Hung their team scarves on the walls around one of the windows.

- moved the TV and Xbox to the dresser so the desk can be used for school, since it will be at least partially virtual this year.
- got a butterfly chair from Target to make it more comfortable to rot their brains.
There are still a few things left to do, but I am burned out, so they’ll have to wait a bit.
- install hooks on the back of the door for coats and jackets
- re-hang a shelf with hooks in the desk nook for all of their medals and whatnot
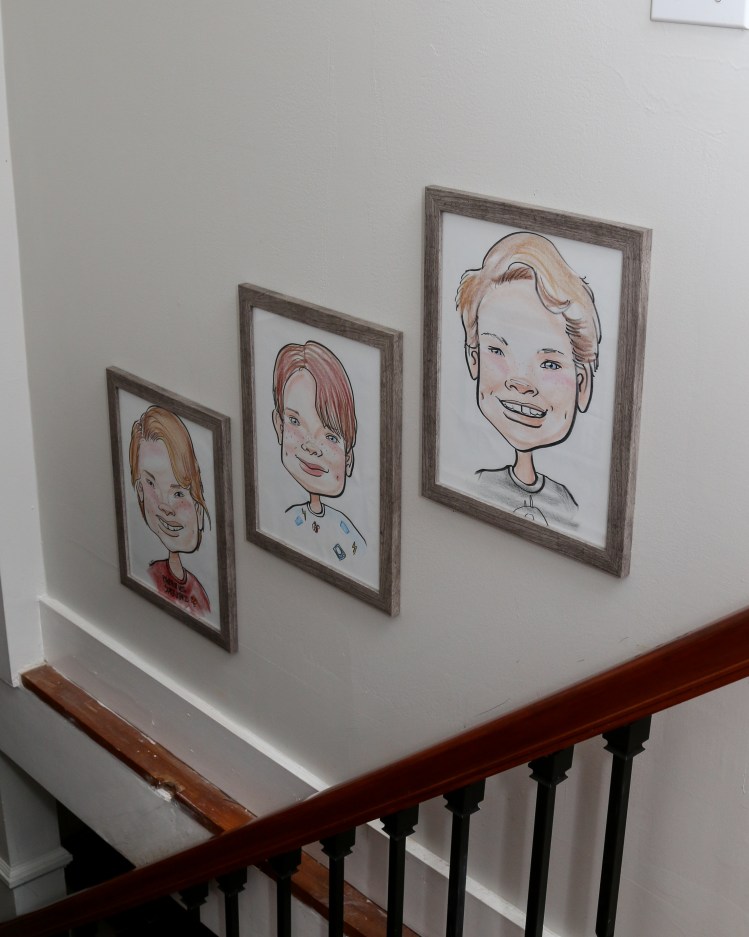
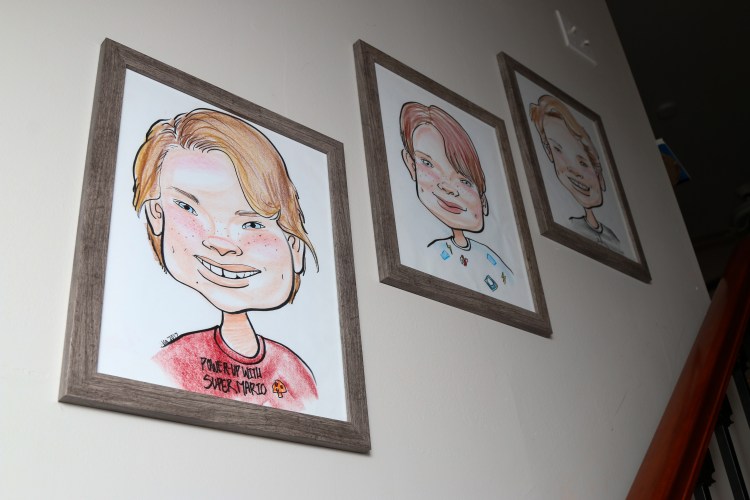
- hang the soccer team photo
I think that’s it? Overall, we are all very happy with the updated room. But I swear, I am never painting again.