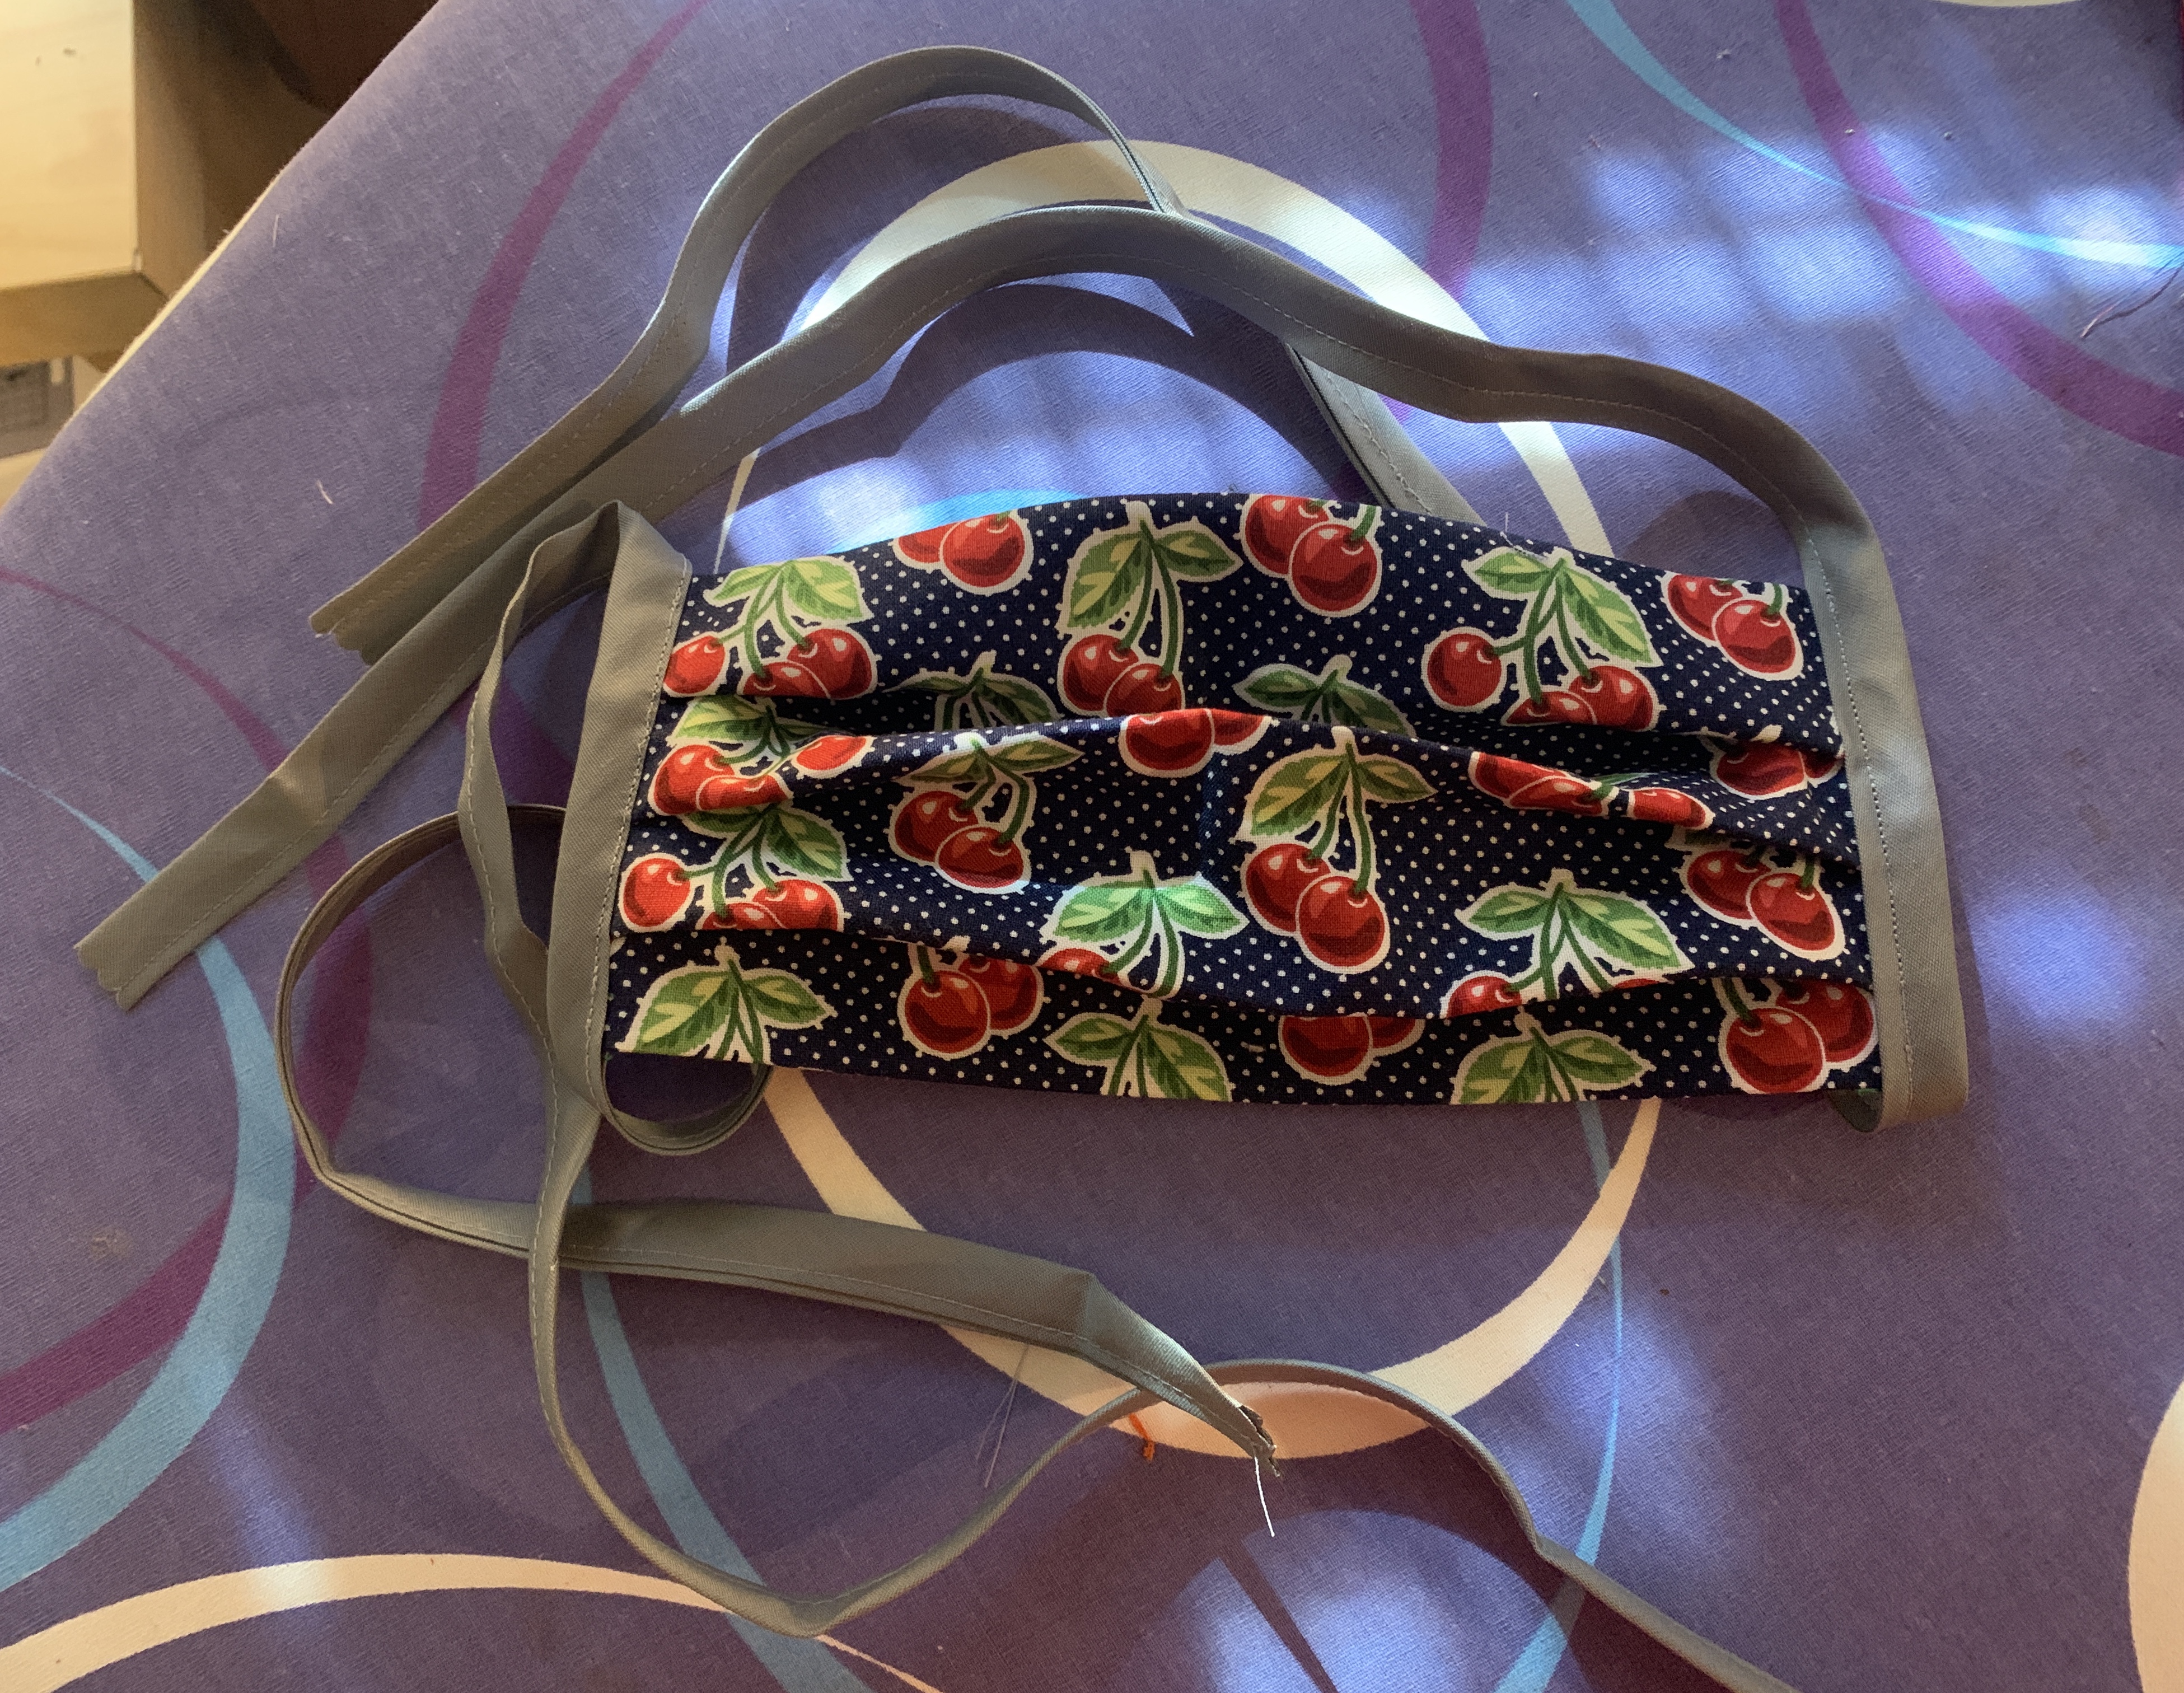
Here are the very very simple masks I’ve been making. No, they don’t have a pocket for a filter or for nose wire. It’s very much inspired by the Deaconess pattern, but I simplified it and also I ran out of elastic so modified it for using bias tape.
Supplies needed:
- 100% cotton woven fabric (quilting cotton)
- 2 yards 1/2″ double fold bias tape
- thread
- sewing machine
- serger (optional)
- clips or pins
- iron
- pinking shears (extremely optional)
Yes, I use a serger for mine. You can definitely use a sewing machine only, though. And if you don’t have bias tape, you can make your own. For something like this I’d rather not make bias tape, as it’s kind of tedious, and I prefer to save bias tape making for when it’ll be a cute accent on an item of clothing, but it’s a great option if you don’t have any or don’t want to buy any. (A standard package of double fold bias tape has three yards in it, so you’d need two packages to make three masks.) I got this from Etsy – it has enough to make 25 masks.
Here goes:
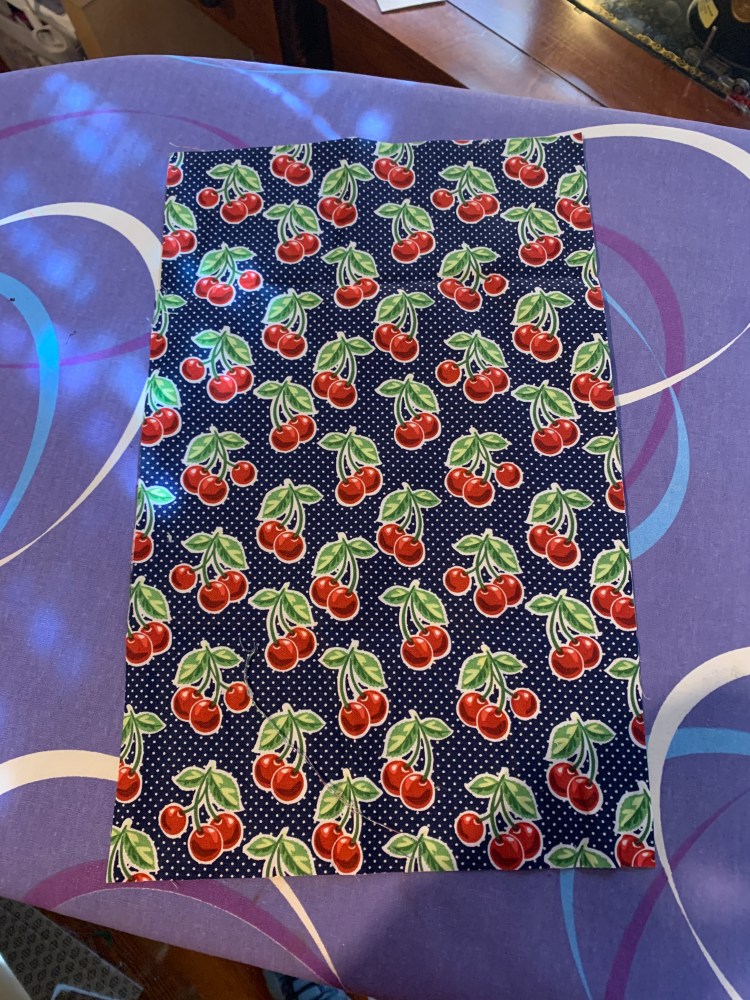
1. Cut a 9″ x 15″ rectangle of fabric. If your fabric is directional, you want to orient it so the 9″ is going across and the 15″ is going down. If you care.
2. Fold the fabric in half, right sides together, shorts sides together.
3. Serge (or sew at a 3/8″ish seam allowance) the short ends together.
4. Turn it right side out and press flat (with the seam you just sewed at one end.)
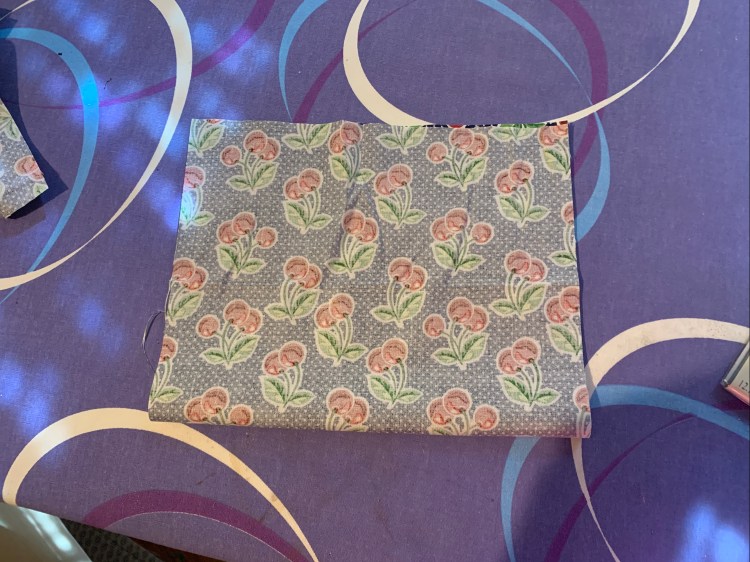
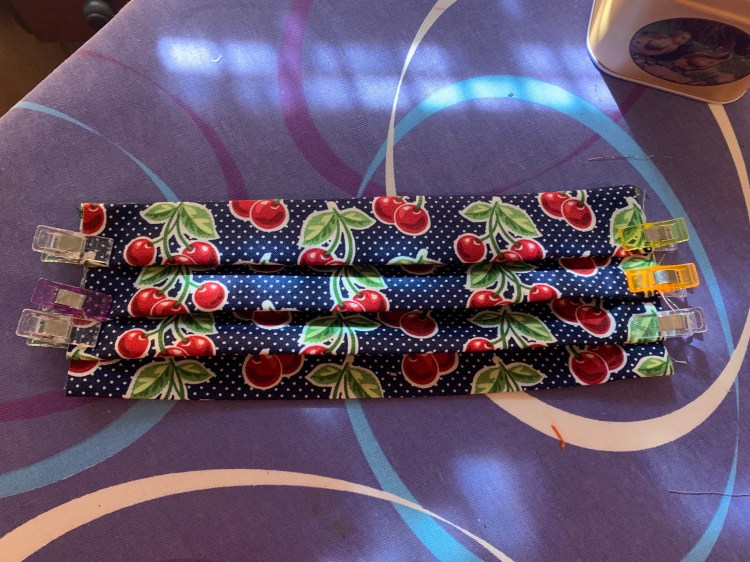
5. Now you are going to pleat your fabric. This can be tricky. You just have to practice. I put in three pleats. Make them small and closer together than you might think. Once you’ve pleated, clip them down on each end.
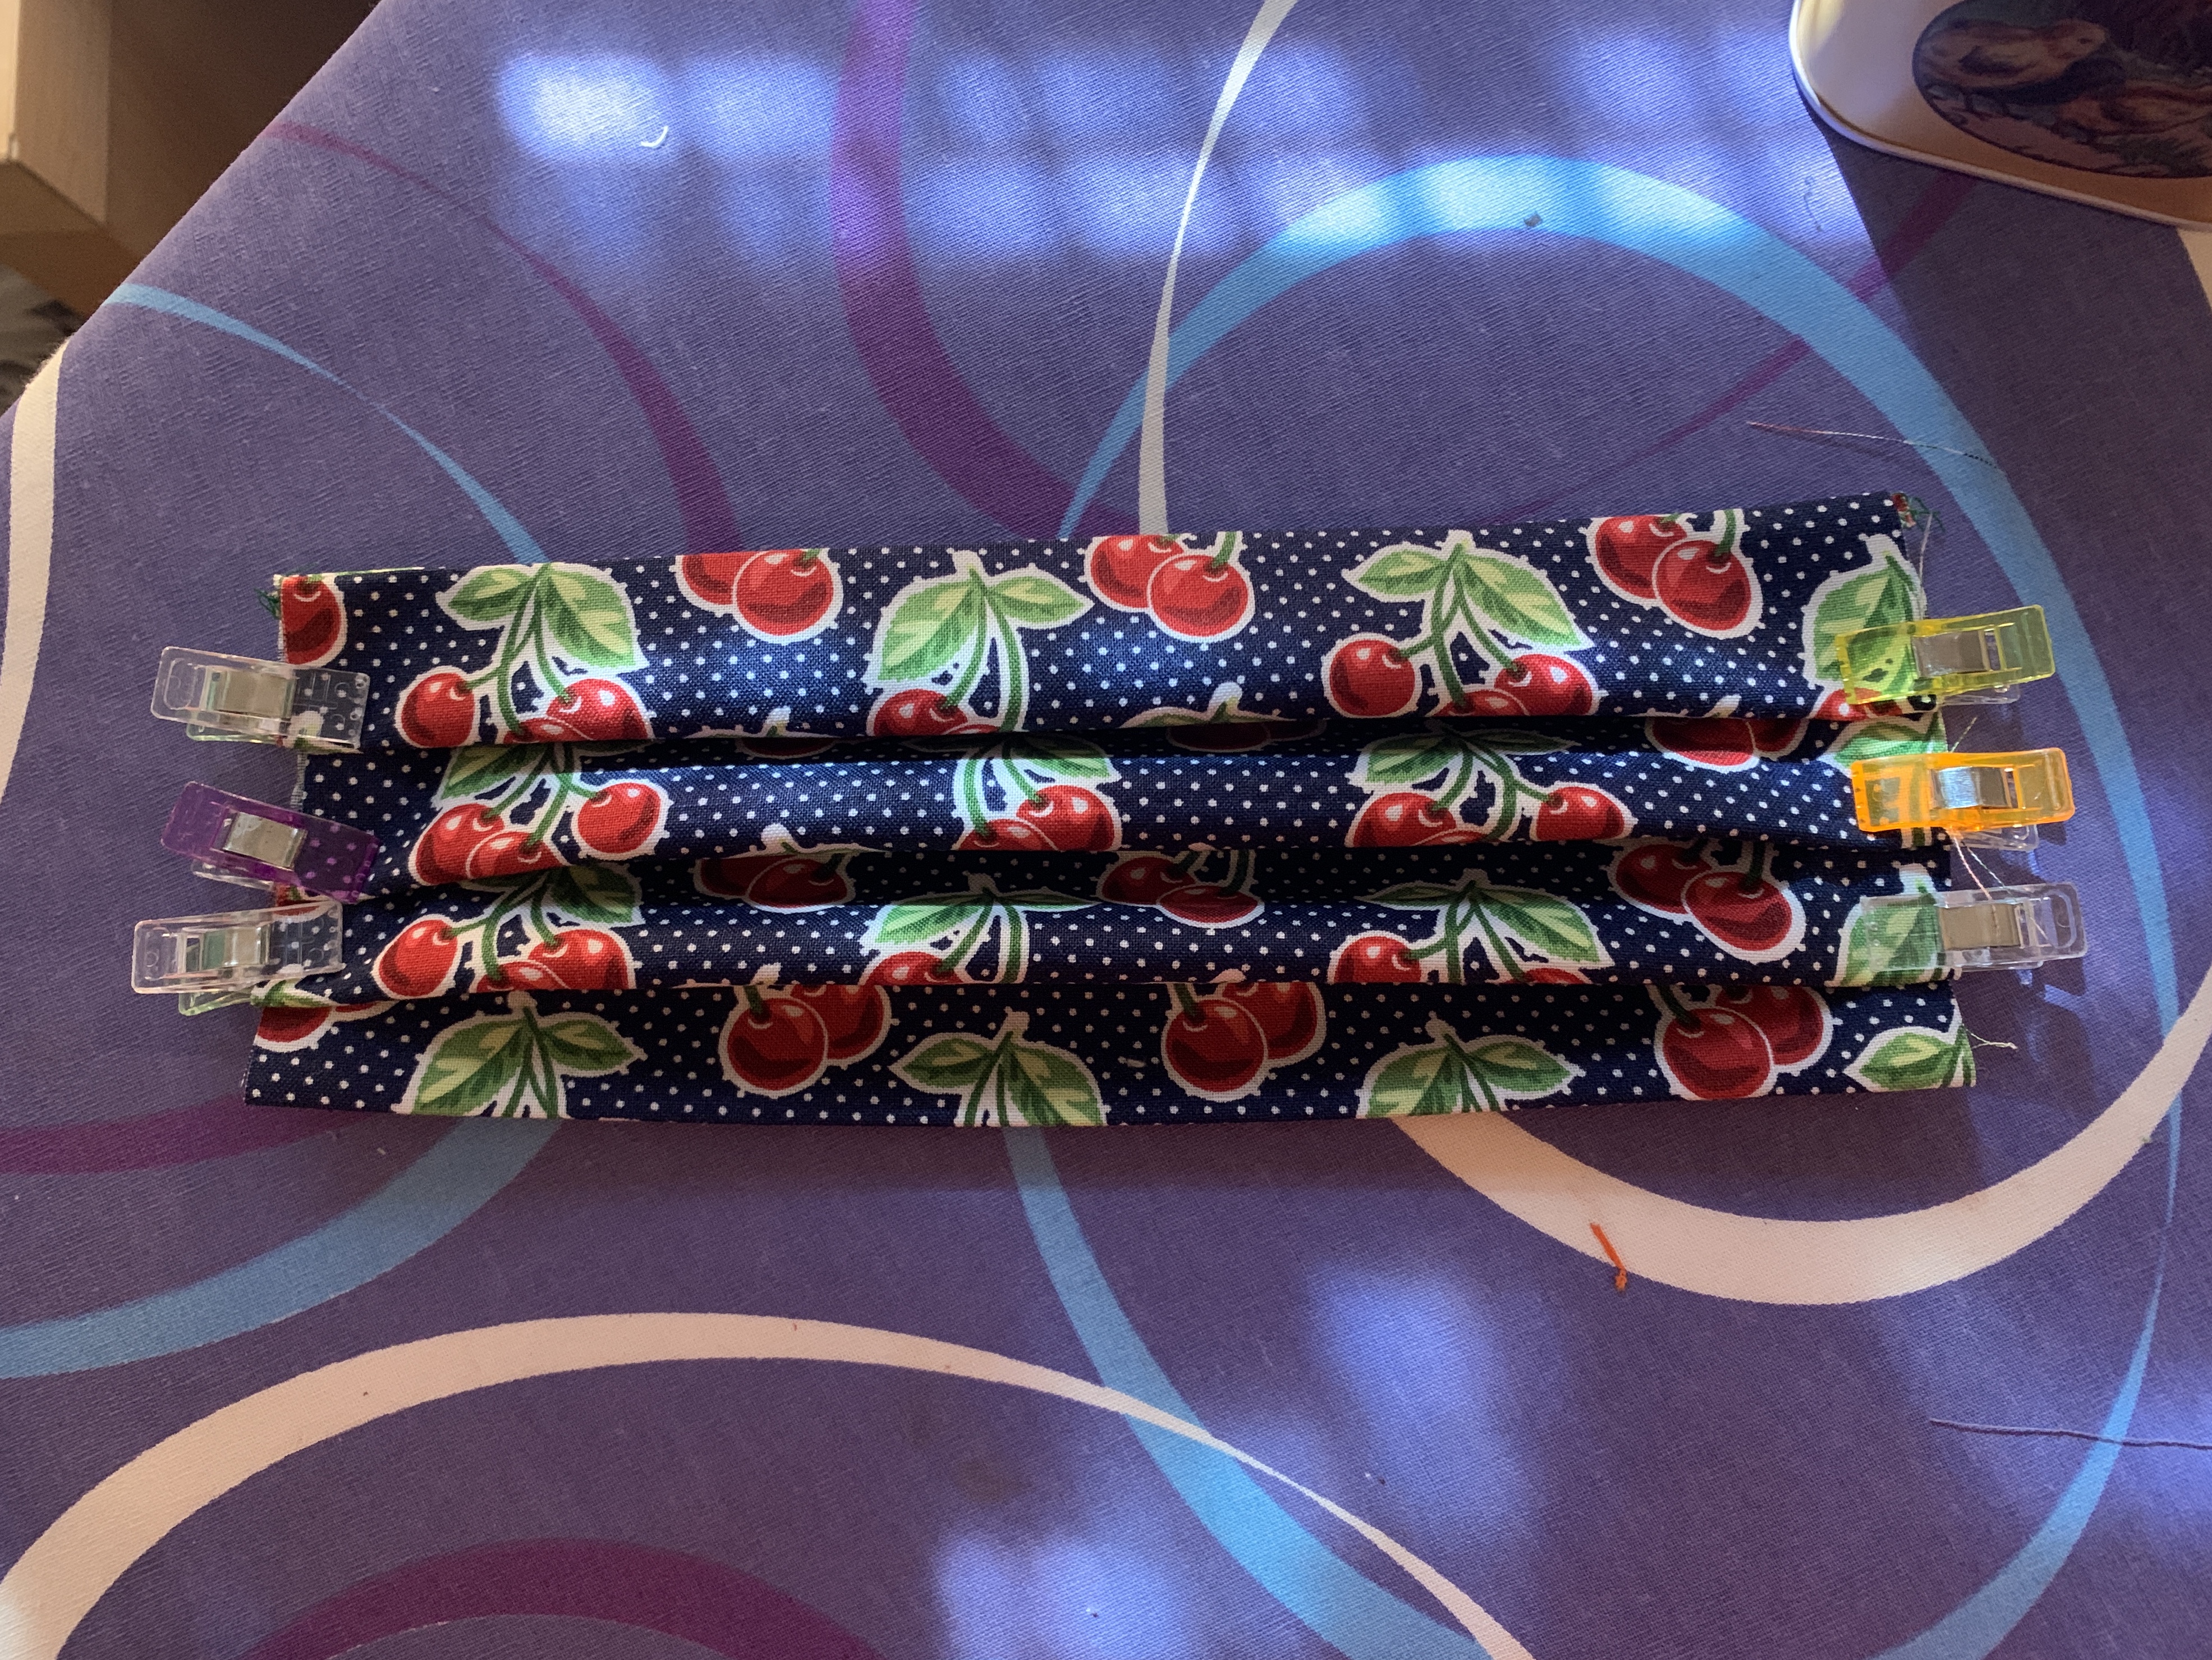
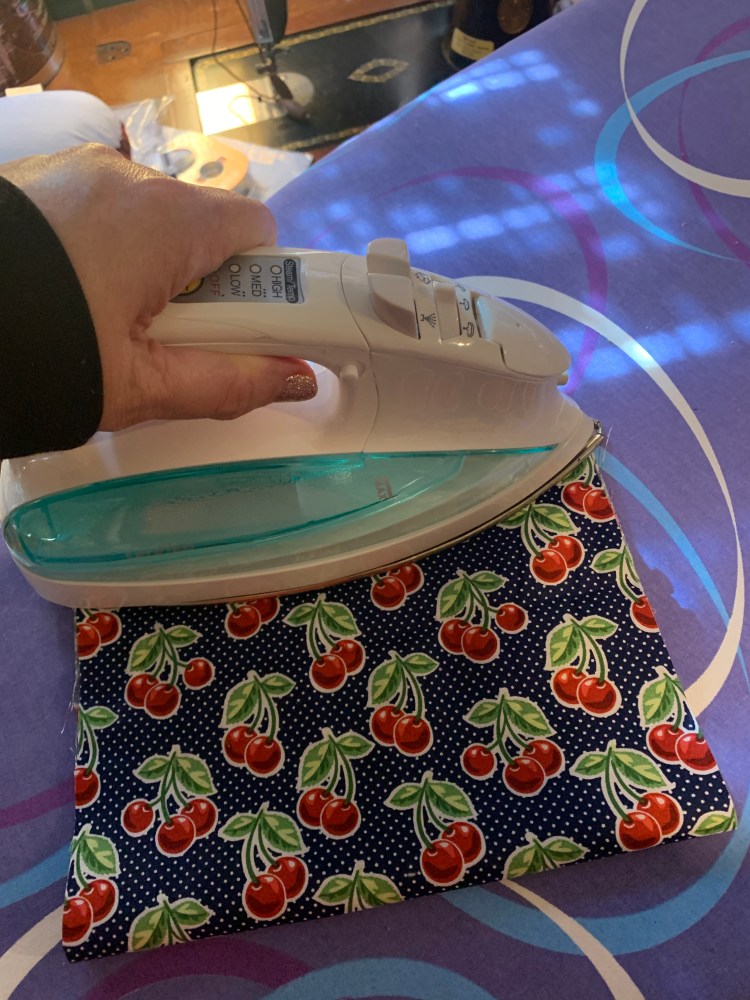
6. Press (but don’t melt your clips.) This is optional, but it’ll help keep your pleats in place.
I know, it barely looks different. 😀
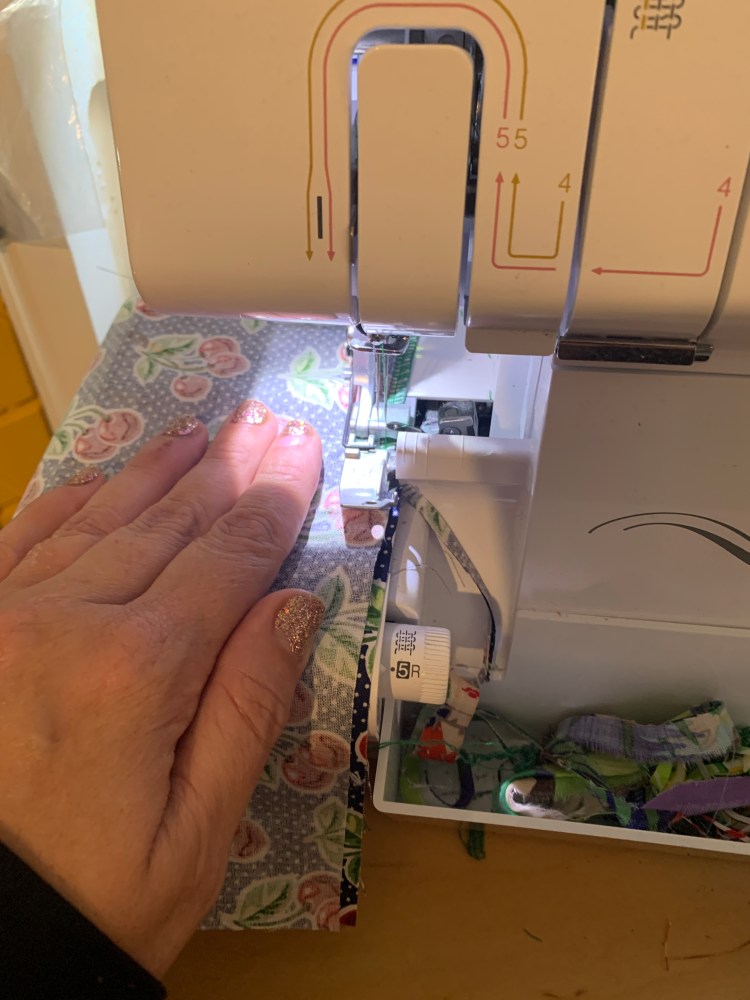
7. Carefully serge each side of the mask, being sure to serge down the pleats. Go slow! This is why I like to use clips. I live in fear of serging over a pin and destroying my blade. Cut a bit of the fabric off while you serge so you can be sure you’re securing your pleats.
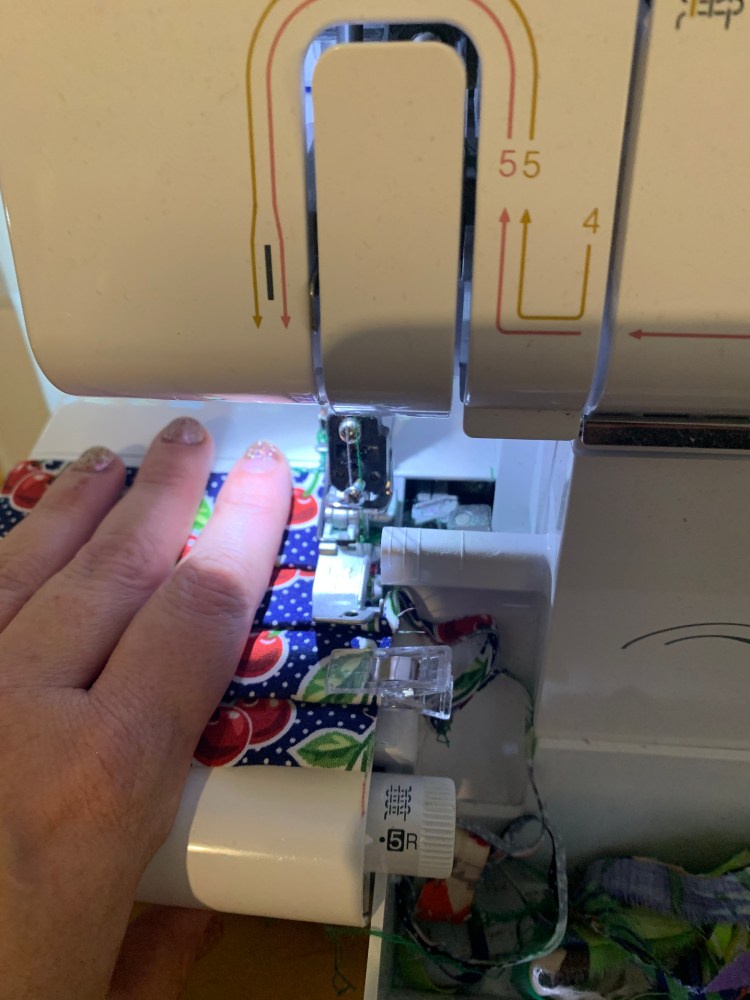
Optionally, you can sew these down at about a 3/8″ seam allowance. Just make sure you catch all of the folds of the pleats. Go slow!

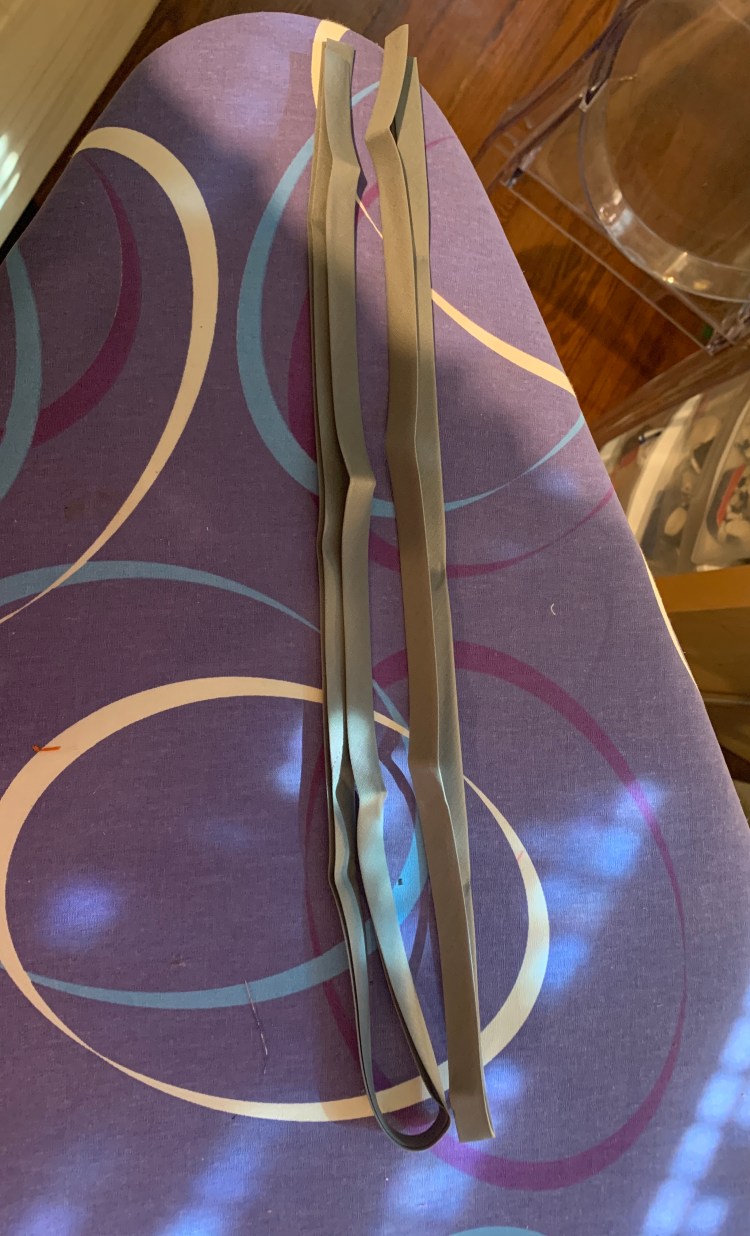
8. Take your two 36″ lengths of bias tape and mark the centers.
9. Align the center of the bias tape with the center of the masks where you just serged. Open up the bias tape and lay the mask down with the edge of the mask flush with the folded center of the bias tape.
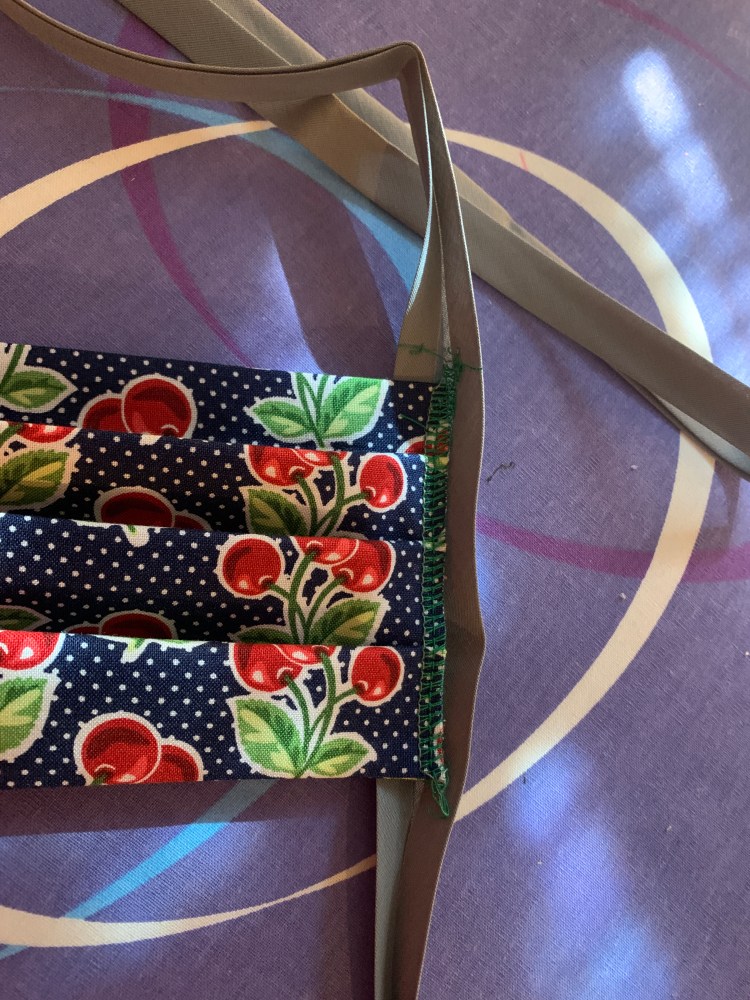
10. Clip to secure. Repeat with other side.

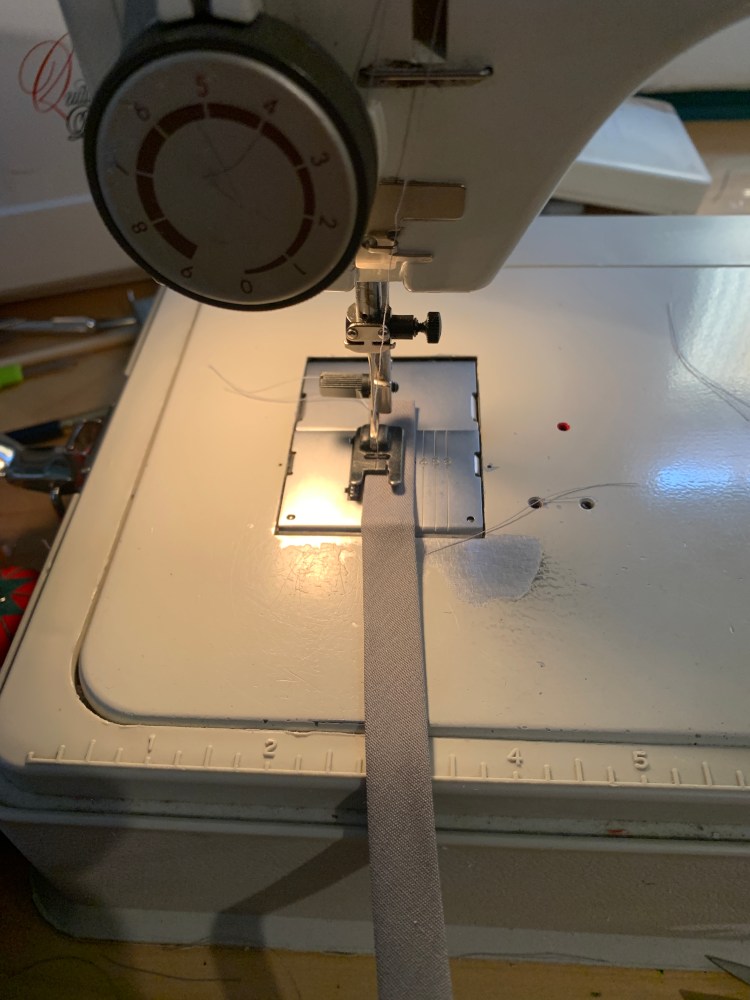
11. Starting at one end of one of the pieces of bias tape, sew about 1/8″ from the open edge of the bias tape.
When you get to the mask, keep sewing! I like to do a little backstitch when I get onto the mask. Make sure you are sewing through both sides of the bias tape and the mask is in the middle, like a sandwich.

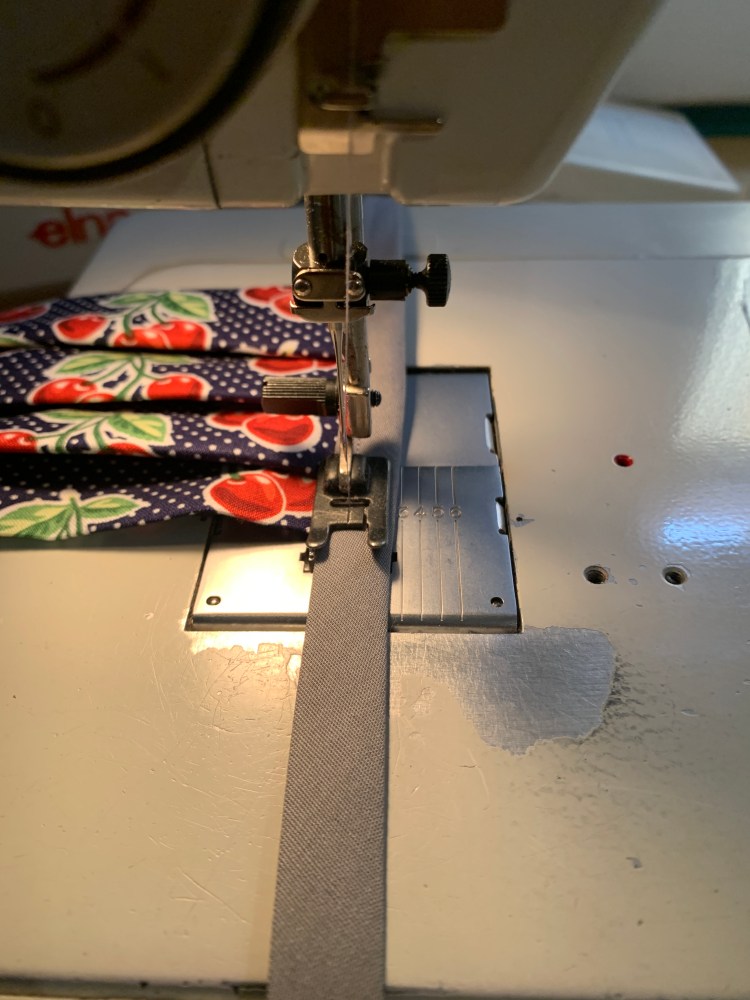
Keep on sewing until you get to the end of the bias tape. Repeat on the other side.
12. If you have pinking shears, trim the ends of the bias tape so it doesn’t fray too much. Or just for fun.
DONE!