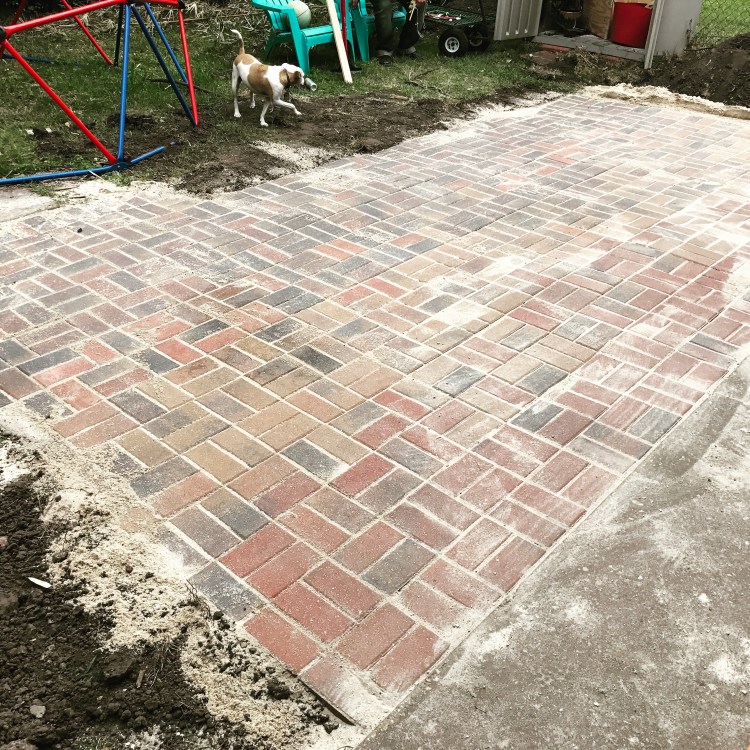
Yesterday I posted a picture of our finished patio that George, some friends, and I built over three days last week. Now I am here to tell you how we did it.
Step 1: Mark out and measure the area.
Our yard is on the side of the house, and it’s an L-shape. There’s a weird bit of sidewalk in the middle back from when there was a house there. Due to the boys playing soccer and Ziggy being Ziggy and other factors, there was an area next to the back door that was dirt or mud, depending on the weather. So we marked out a rectangular area between the side of the house and the weird sidewalk bit.


Step 2: Order stuff
We decided on these brick-like pavers from Home Depot called Holland pavers because they were on sale and I liked the look of them. Woot! Arranged for them to be delivered because, uh, we needed a bunch.
We also needed sand, so I did some googling and found a local company to deliver a truckload of concrete sand. Thank goodness they had a handy dandy calculator on their website to figure out how much we needed. Feel very adult-like.
Also buy a case of beer with which to bribe friends with so they will help. Go back to feeling like a college student.
Step 3: Start digging
Now the fun starts! Just dig about 5″ down from the top of the sidewalk. Oh look, roots! So many roots! And glass! A lot of glass. We spent a lot of time speculating on why there was so much glass. I kept picturing the scene from Mad Men where Betty just shakes off the picnic blanket in the grass and they walk away. Did people just drop their bottles on the ground when they were done? We also found old glass fuses and marbles (some kids just…stopped playing marbles one day, by the looks of it) and did I mention roots?


Step 4: Stare at the giant piles of dirt
Wow, that is a lot of dirt. What are we going to do with all this dirt? Oh well, it’s biodegradable.
Step 5: Keep digging.
And digging and digging. Don’t forget sunscreen and gloves and bandaids for the blisters you’re going to get anyway, and then some medical tape to keep the bandages on but you know what? Just give in. Your hands are going to be wrecked by the end of this no matter what.
Step 6: Beg your friends to come over.
And bring some shovels and a wheelbarrow. Break out the beer!
Step 7: Go to Home Depot and rent a tamper.
Unless you’re making a ginormous patio, don’t get the powered one, just get the one that’s a heavy plate on the end of a stick. Roll your eyes when your spouse makes tampon jokes.
Step 8: Level out your shallow pit as much as possible.
Use the rake you also bought in step 2 to smooth it and the tamper to tamp in. Break out the beers!
Step 9: Run to River Fine to order poboys.
Shrimp, dressed.
Step 10: Start shoveling sand into wheelbarrows and tipping it into your pit.
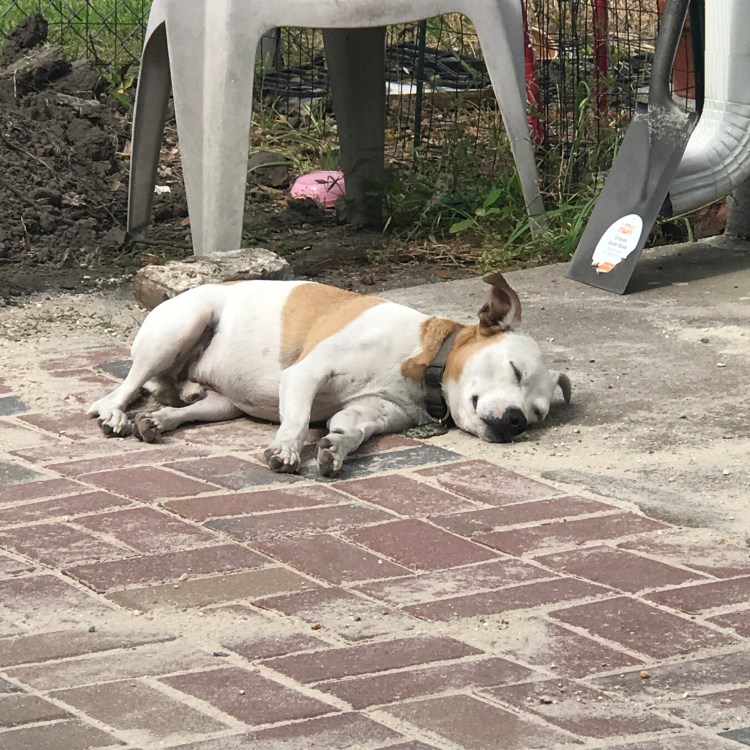
Fill ‘er up! The sand layer should be 3″ thick. Try to keep Ziggy from digging in it. Or pooping, for that matter.


Step 11: Pull out a 2×4 and a level.
Use the rake to try to level the sand, but kind of give up because it’s New Orleans, nothing is level, it’s fine, it’s going to settle.
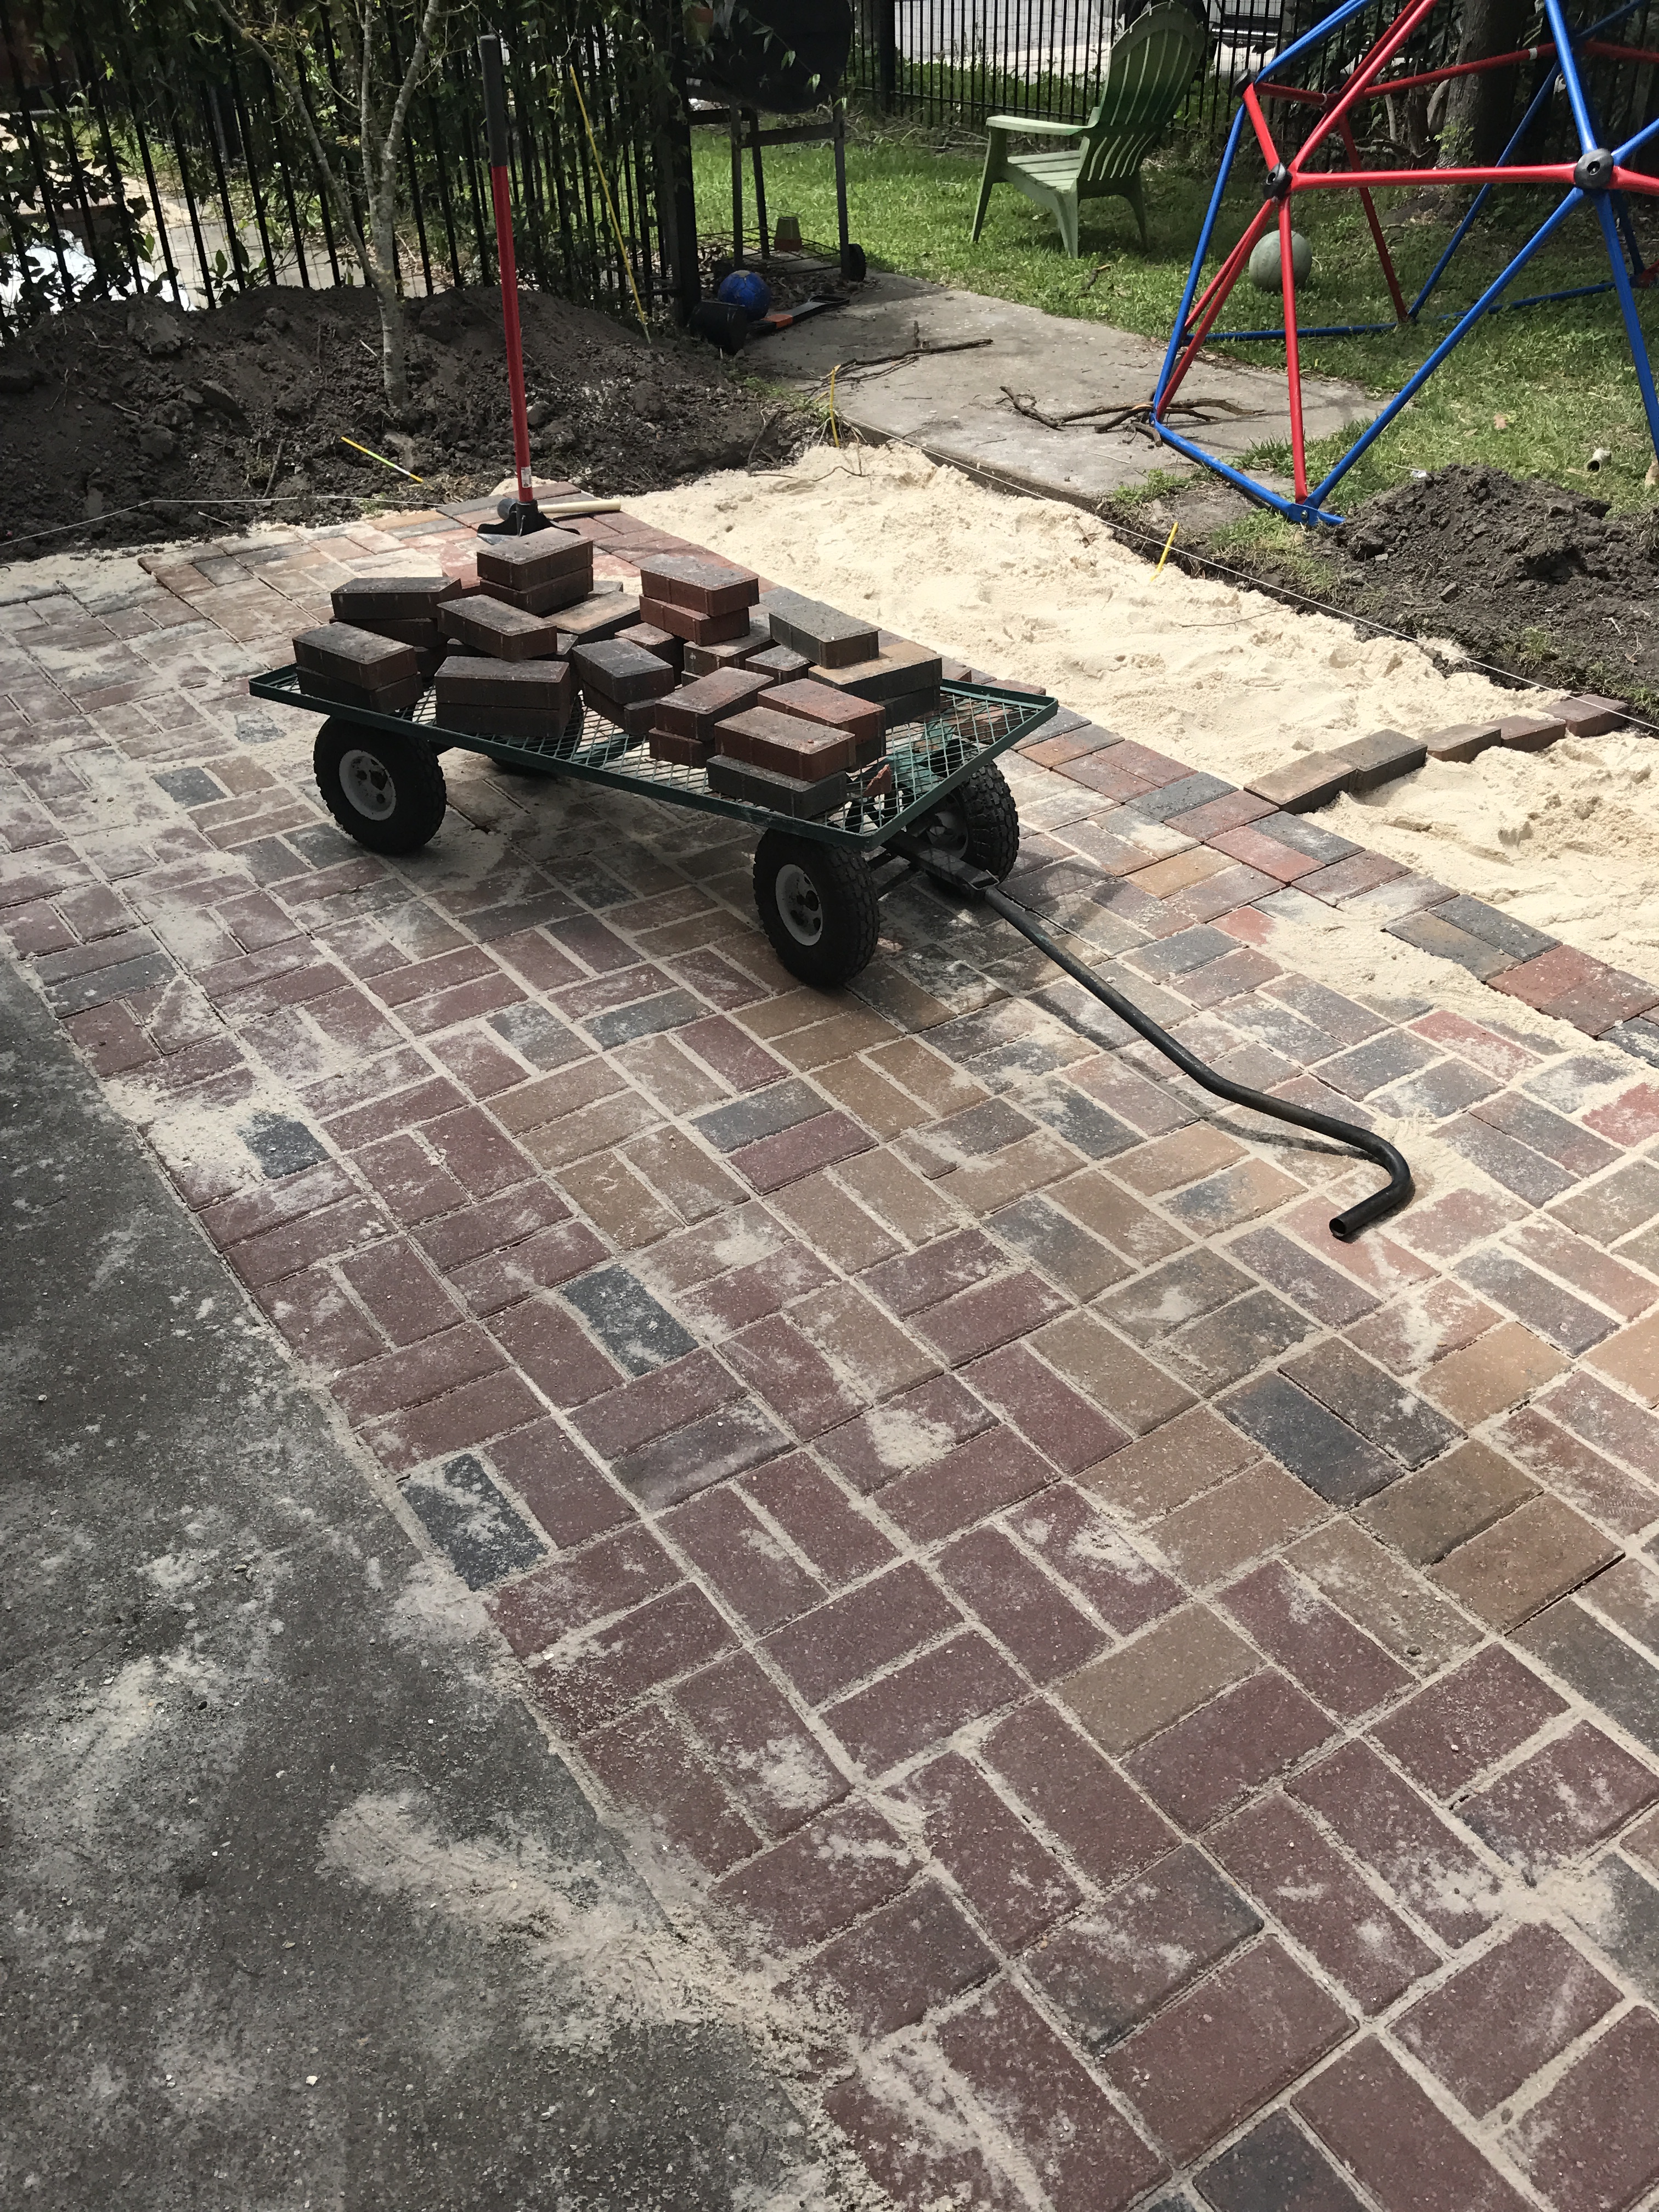
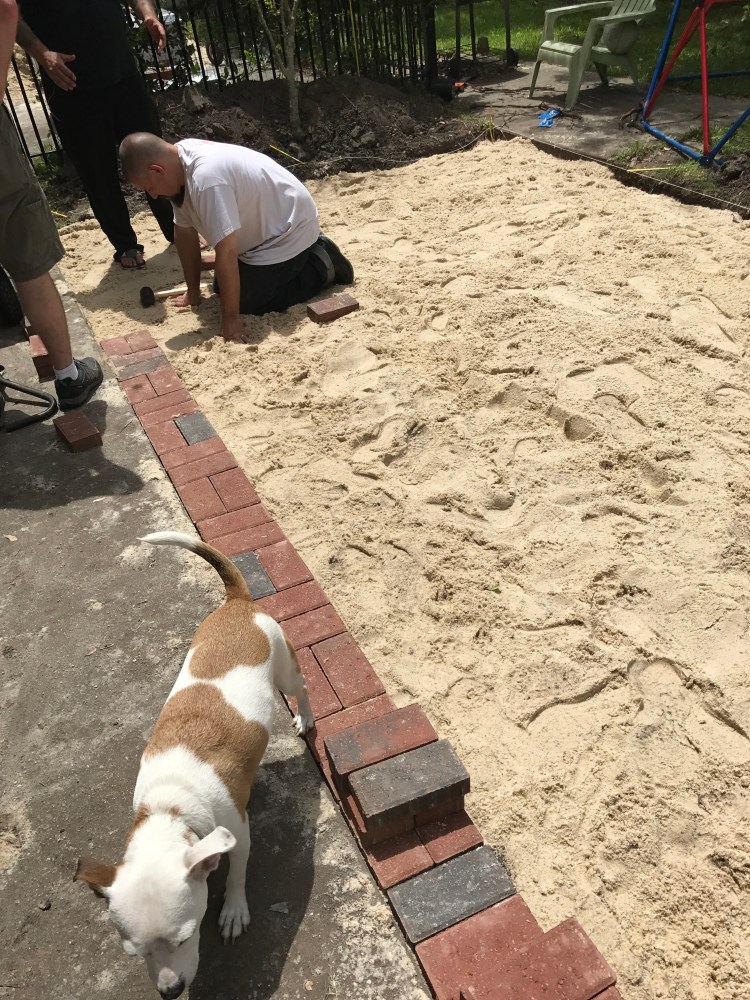
Step 12: Start putting down the pavers!
Yay fun! Well, not really. Tamping the sand is more fun, but that’s not really fun either. But it’s satisfying. This part is a two person job. One person is down on the ground, putting down the pavers and pounding them in with a rubber mallet. The other one is tamping down the sand. It’s slow going at first, making adjustments and muttering about how uneven everything is.
Step 13: Beer break!
Step 14: Keep going.

Step 15: Alright, break time!
You know what, let’s just stop for today.
Step 16: Start again the next day.
Frown at the big humps in the patio. Just decide you’re going to do better from here on out. It’s New Orleans! It’ll settle!
Step 17: Keep laying bricks.
Maybe mess up your pattern on one row, just for funsies.

Step 18: Get to the last row.
You’ve hit the weird sidewalk bit in the middle of the yard. The bricks are half an inch too big. Send Chris to go get his tile saw. Meanwhile, go back to River Fine for more poboys. (Roast beef with gravy, this time.)
Step 19: Realize there aren’t enough pavers to finish the last row.
Decide hedges will look nice there.
Step 20: Dump wheelbarrows full of sand onto the patio, and sweep.
Sweep, sweep, sweep. Wait a few minutes, and then sweep some more.
Step 21: Beer time!
Step 22: Realize your house is full of sand.
Vacuum downstairs.
Step 23: Gaze at the piles of dirt and sand everywhere around your lovely new patio.
Decide your hands are too blistered to move them so just leave them.
Step 24: Sweep more sand in the spaces between the pavers.
Step 25: Vacuum again downstairs.
Step 26: Pull a chair onto the patio and gaze at its charming unevenness.
Start using the word “catawampus” at every possible moment to describe your lovely new patio. (Thanks Chris!)
Step 27: Go to Home Depot to buy the patio set you’ve got your eye on.
Realize the boxes are ginormous and it’s about to rain, so you leave them there for now.
Step 28: Watch the rain pour on your patio.
Hey! There are the low spots! Watch some of the sand get washed away.

Repeat steps 24 and 25 until the end of time.
The end! That wasn’t so hard, was it?
Oh yeah, we did finally get the patio set from Home Depot, as you saw in the last picture.
Enjoy a meal on your new patio! Yay!
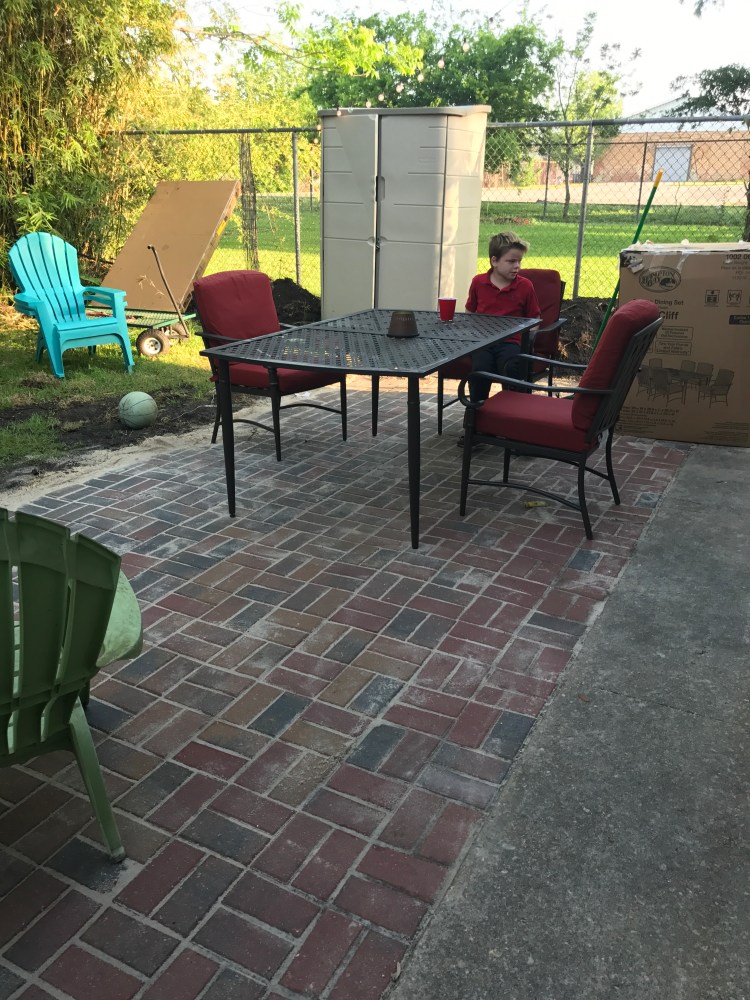
Take a picture from a better angle.

Hooray!
Phase two will include:
- hedges along two sides
- getting rid of the dirt and sand
- getting rid of the giant boxes from the patio set
- giving back our friend’s wheelbarrow and shovels
- get our own wheelbarrow
- big umbrella for the table
Expect that post sometime in 2019.

Elana
looks fabulous! that’s a LOT of work!
LikeLike
Derek Dewitt
My wife and I are thinking about building a patio this summer, so thanks for sharing this. I like that you guys used a rubber mallet to hammer the pavers into the ground. I might have to try something similar to help secure the whole thing.
LikeLike