The Canton Moto Jacket

I just completed maybe the most complicated project in my sewing career, the Canton Moto Jacket by Cashmerette. (Maybe jeans would have been harder if I hadn’t made them in a workshop with the inimitable Lauren of lladybird.)
I have had this pattern printed out for a while, but wanted to wait for the weather to cool off before I started it. I’d even ordered the fabric for it, some denim from Mood. But then I had a couple of thoughts about using denim:
- I’d have to set up two machines, one for sewing, one for topstitching. I am lazy and didn’t want to.
- Would I be able to wear it with jeans? Or would that be weird?
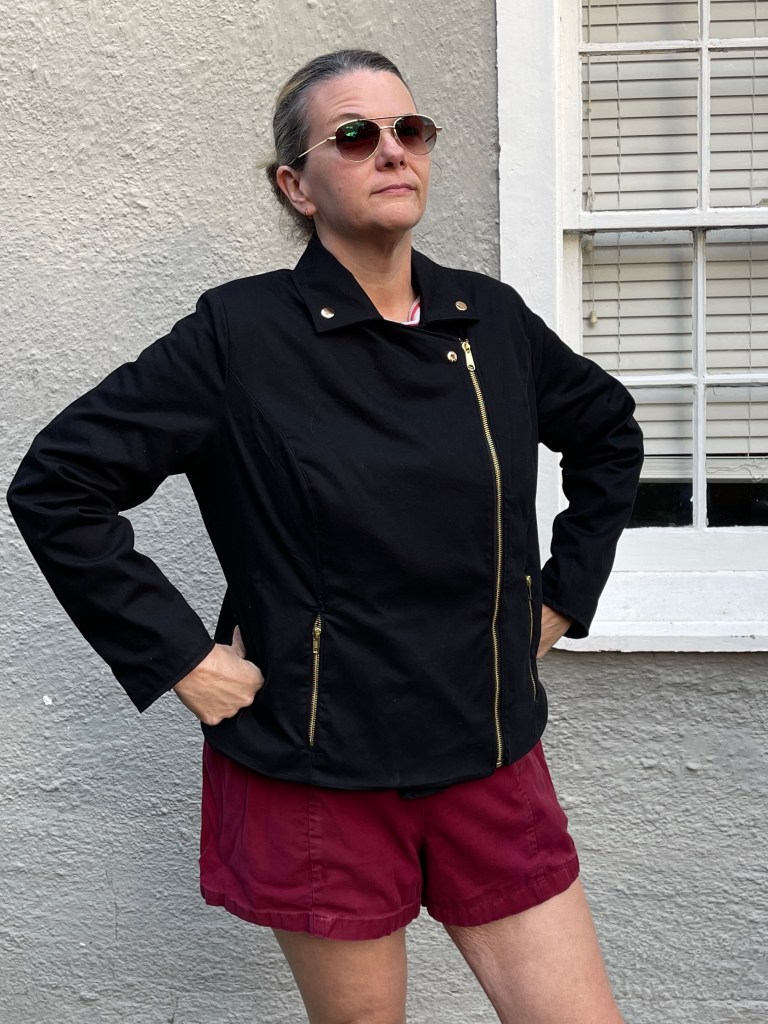
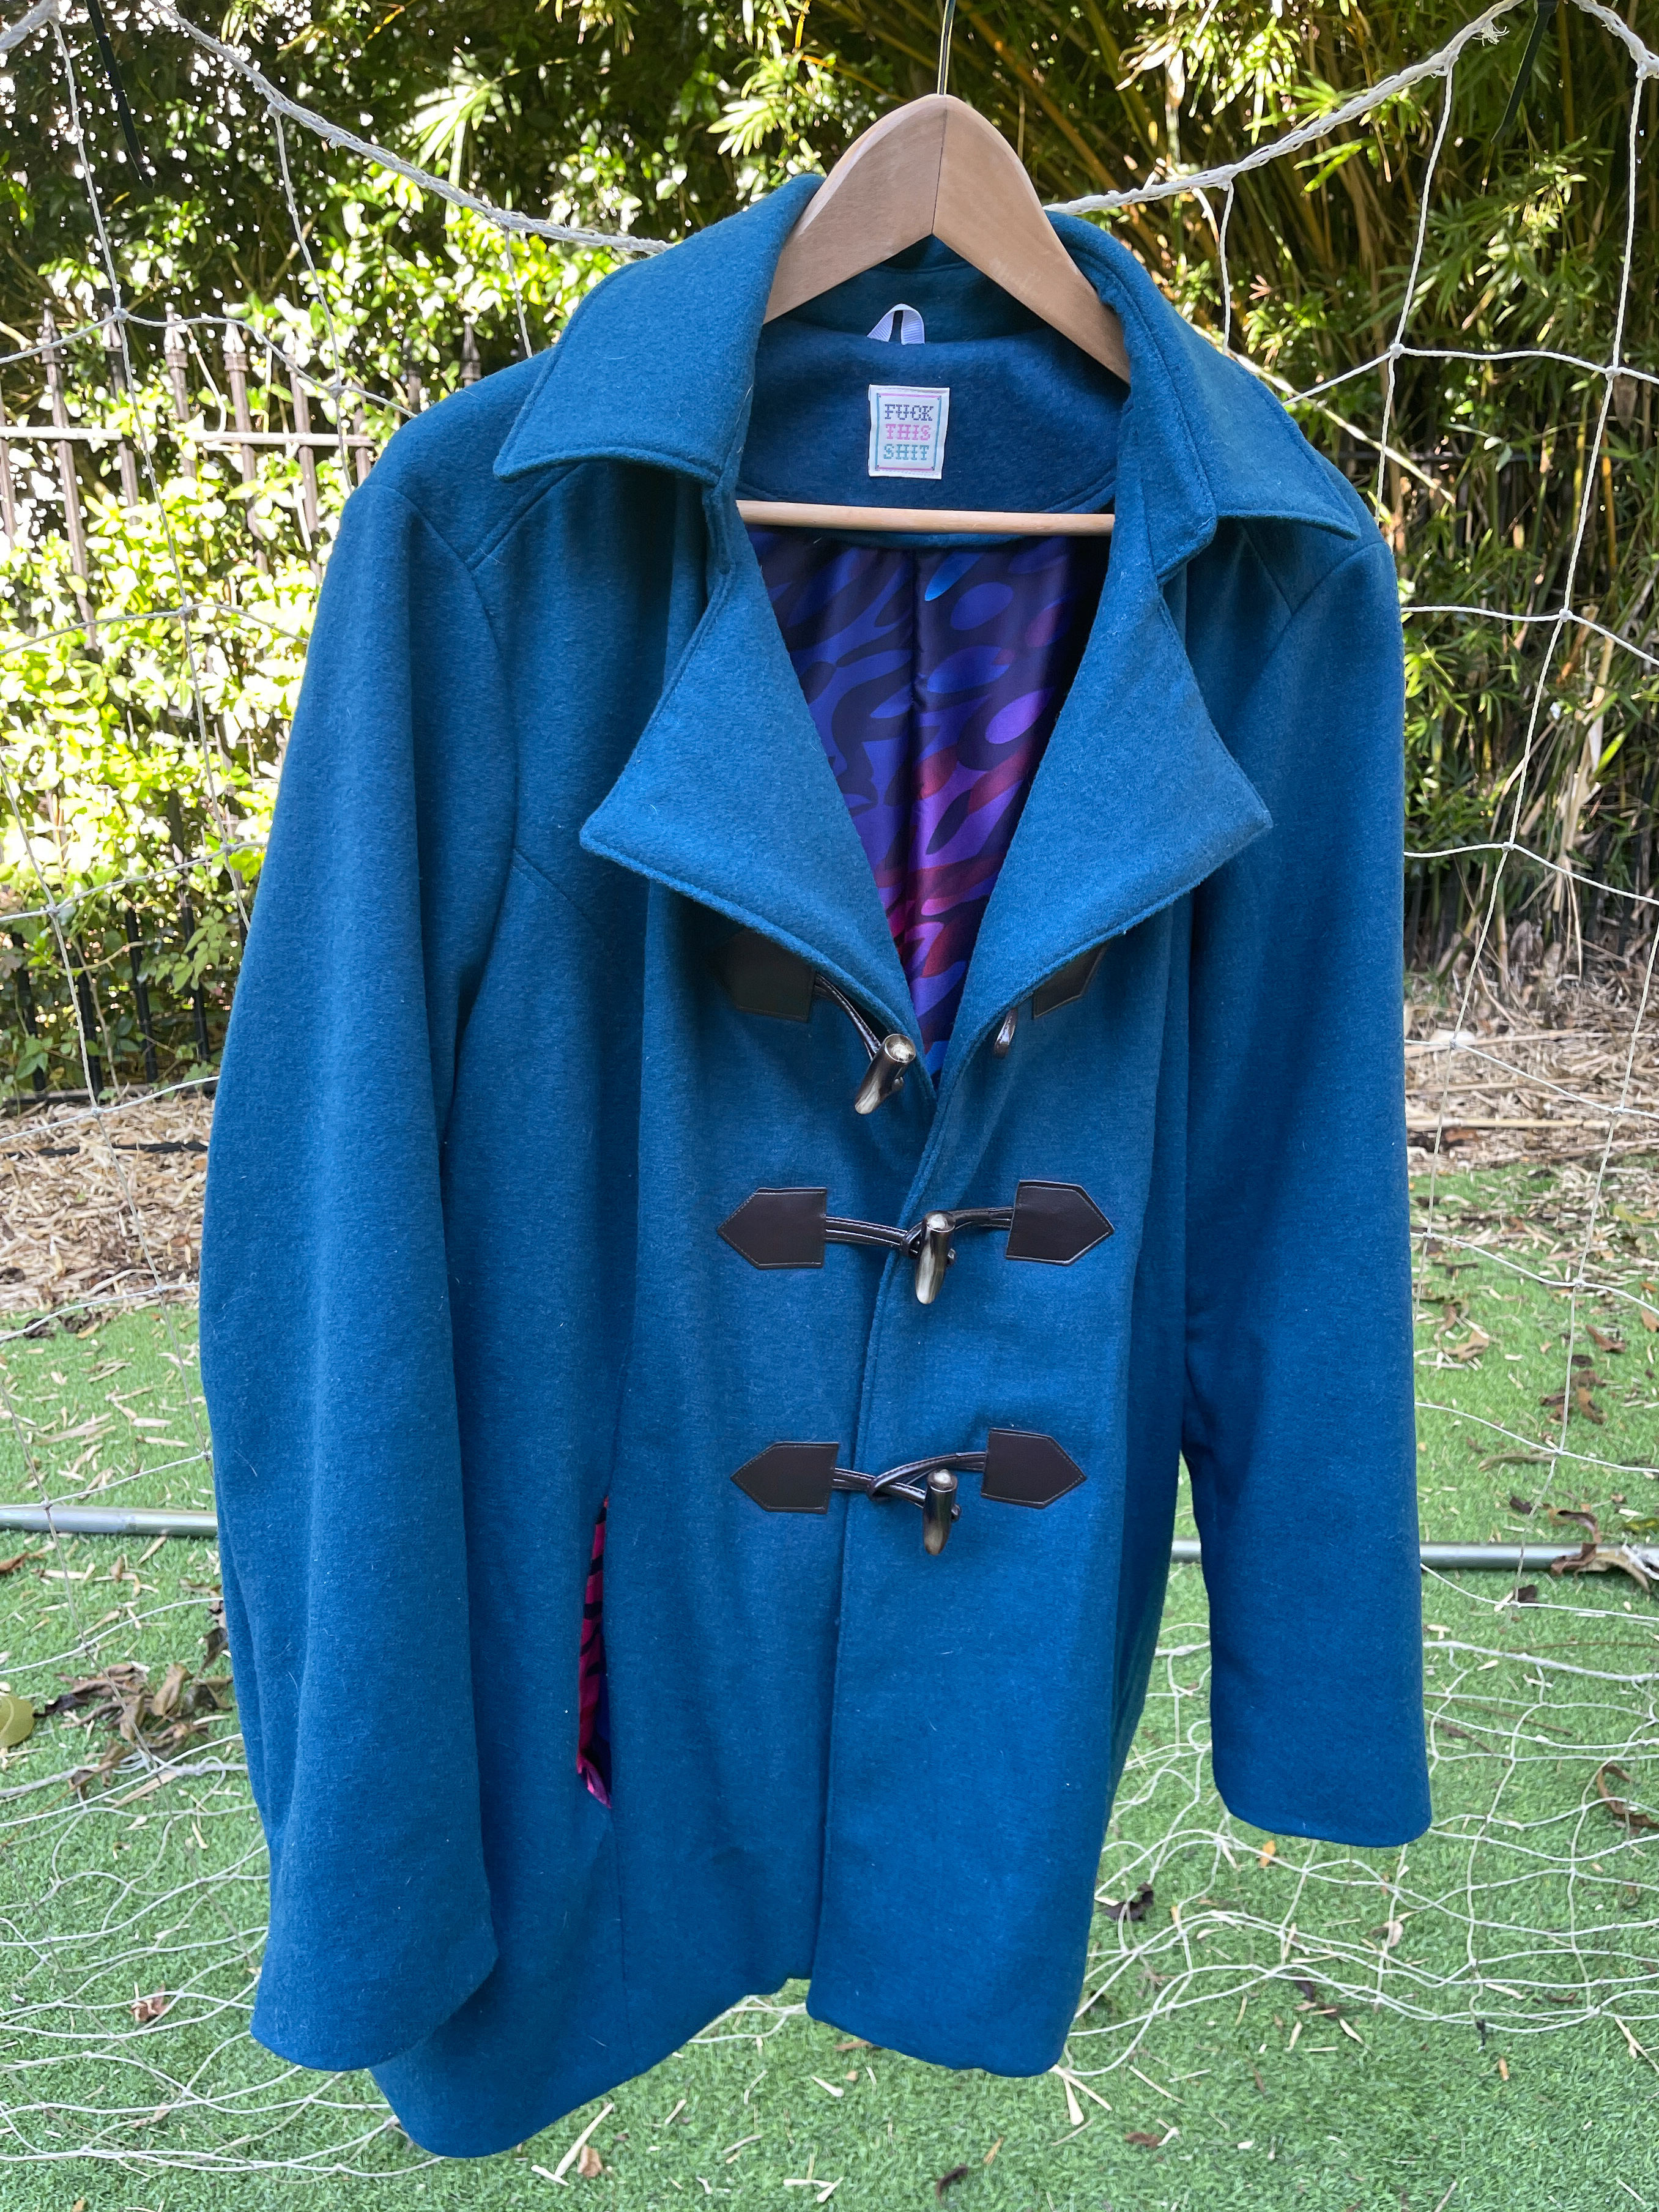
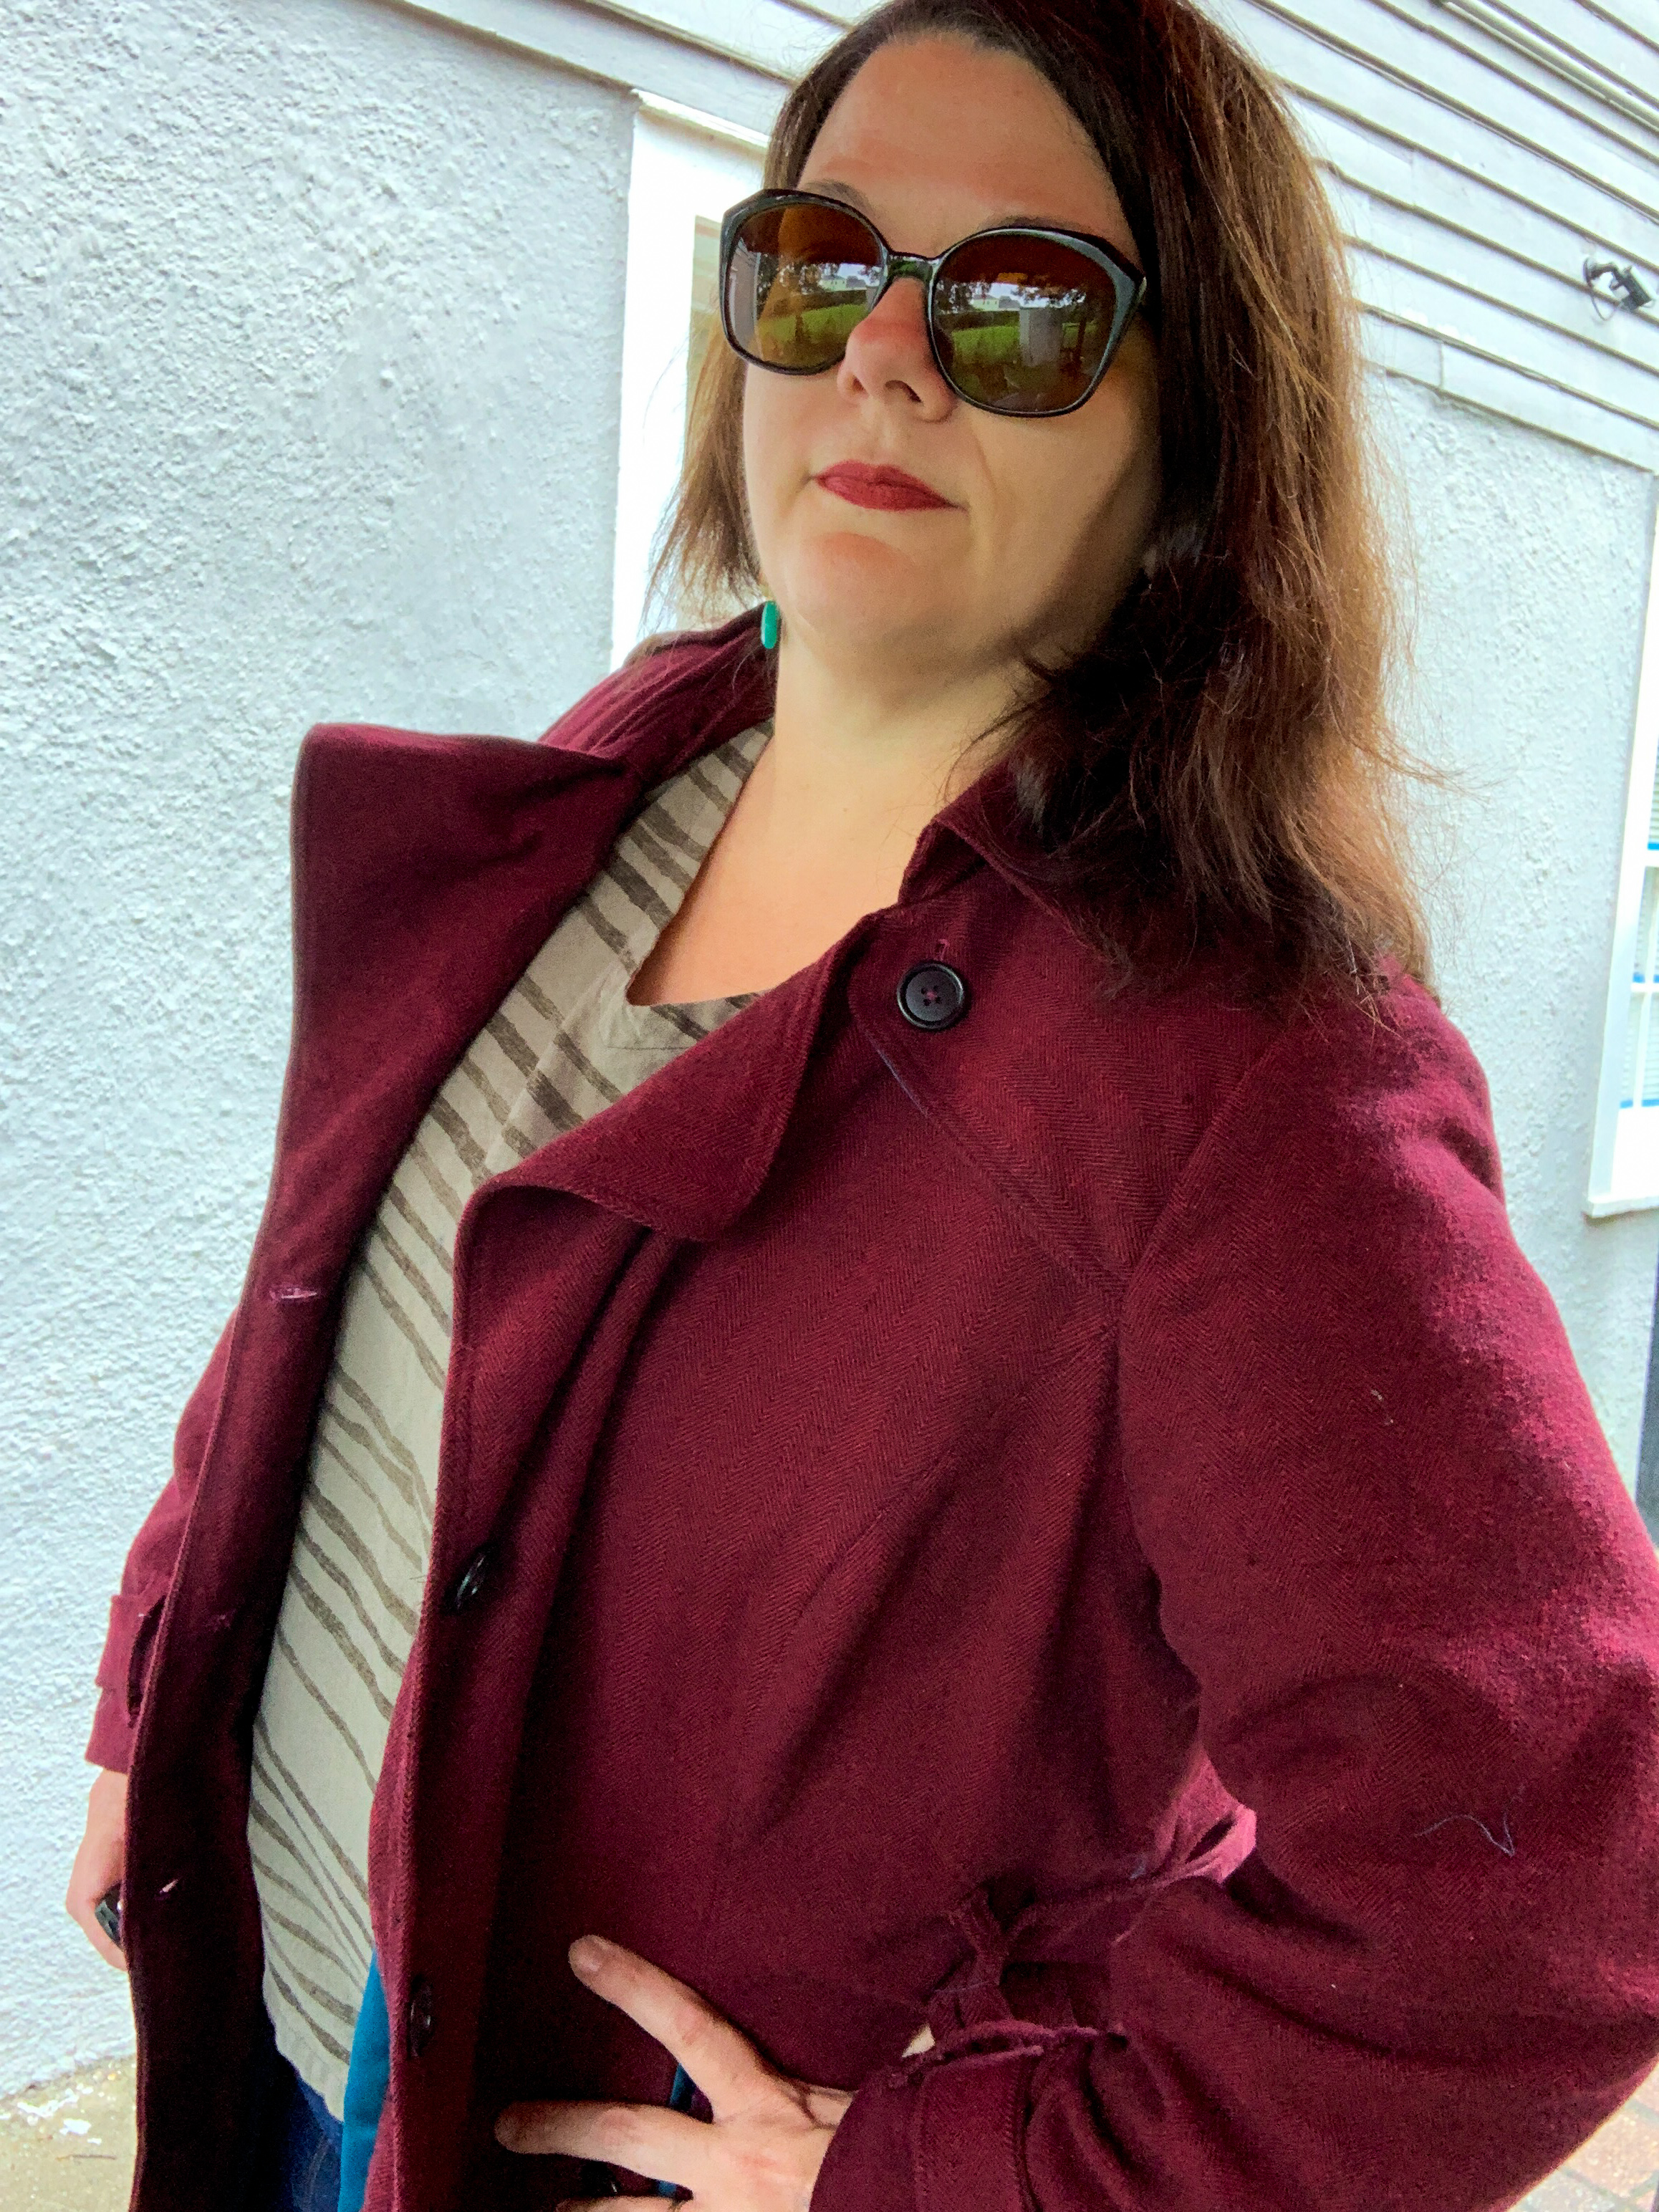
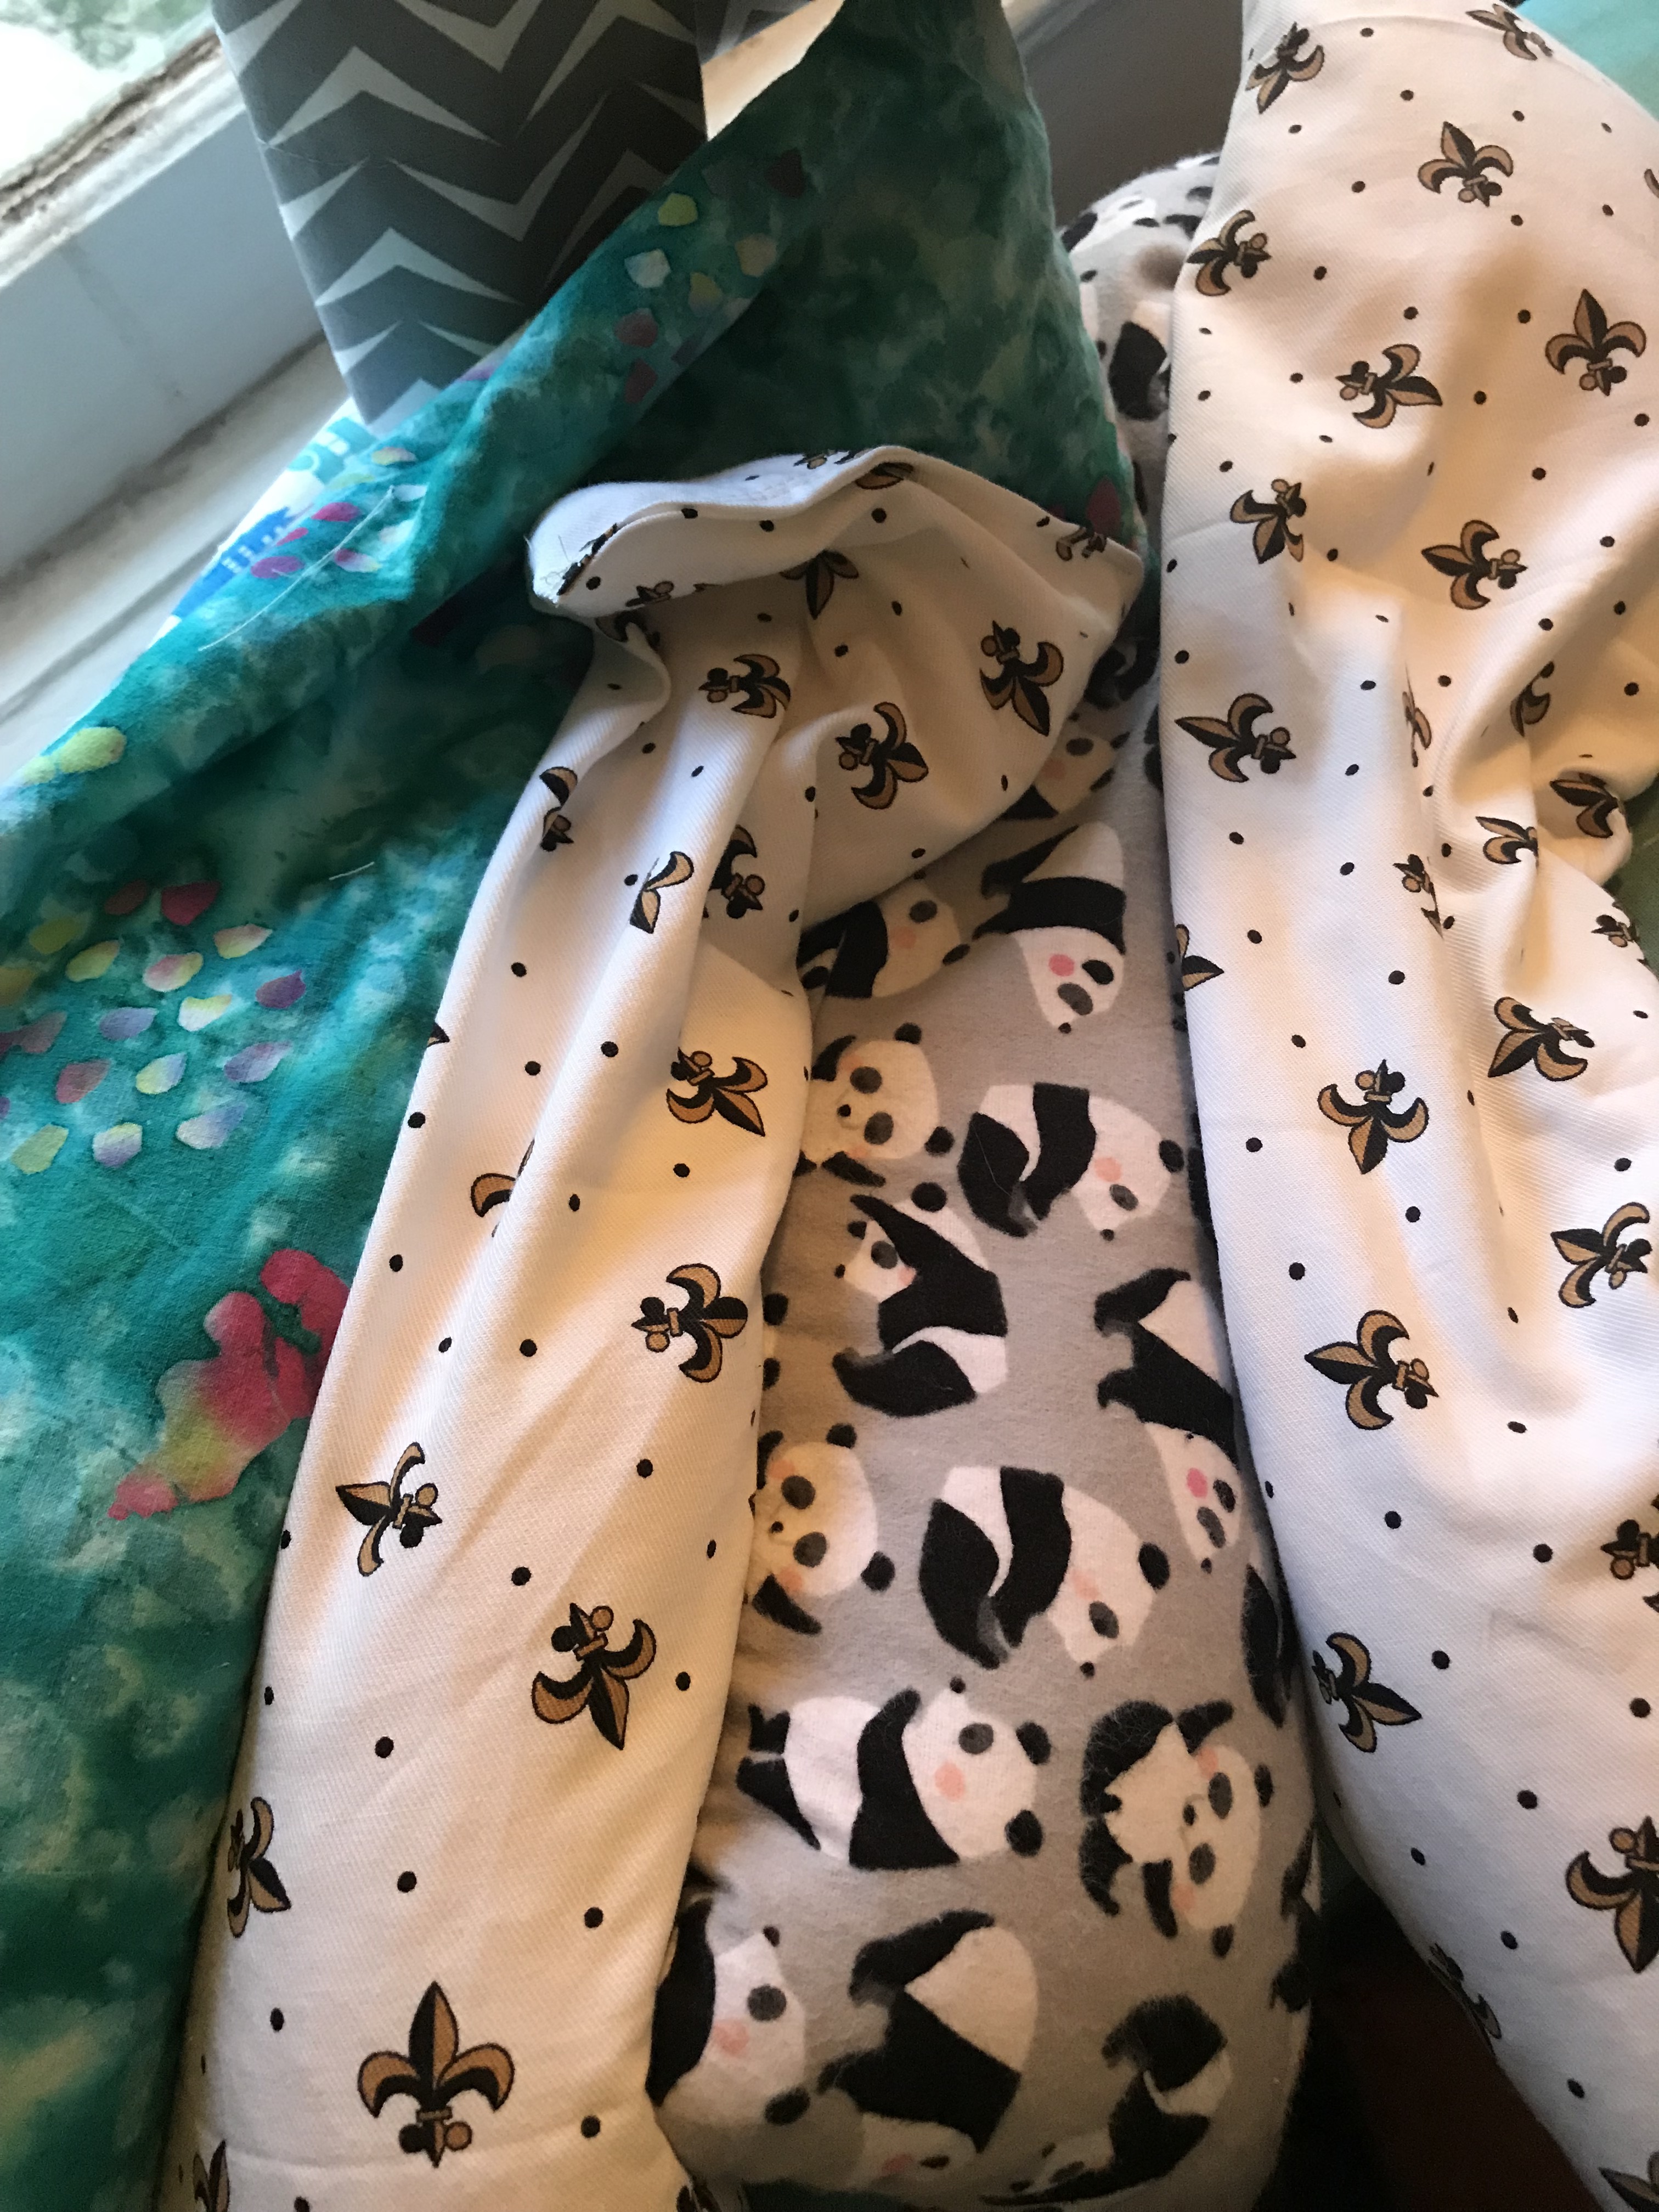
So I decided to rethink my fabric choice and go with classic black. But not (p)leather (though that would have been awesome too). I went with a black twill from Promenade instead. And the lining was this Pantone-chart print from Spoonflower that I bought on a whim with no purpose in mind about a year ago.

Finding all of the zippers was a challenge, the right lengths and all in the same finish. I ended up with gold, but had I been able to find silver ones I’d have been happy with those too.
Actually, everything about the zippers was a challenge. You haven’t lived until you’ve had to remove the teeth from a few inches of heavy duty metal zippers. Or bent a needle accidentally sewing over one.
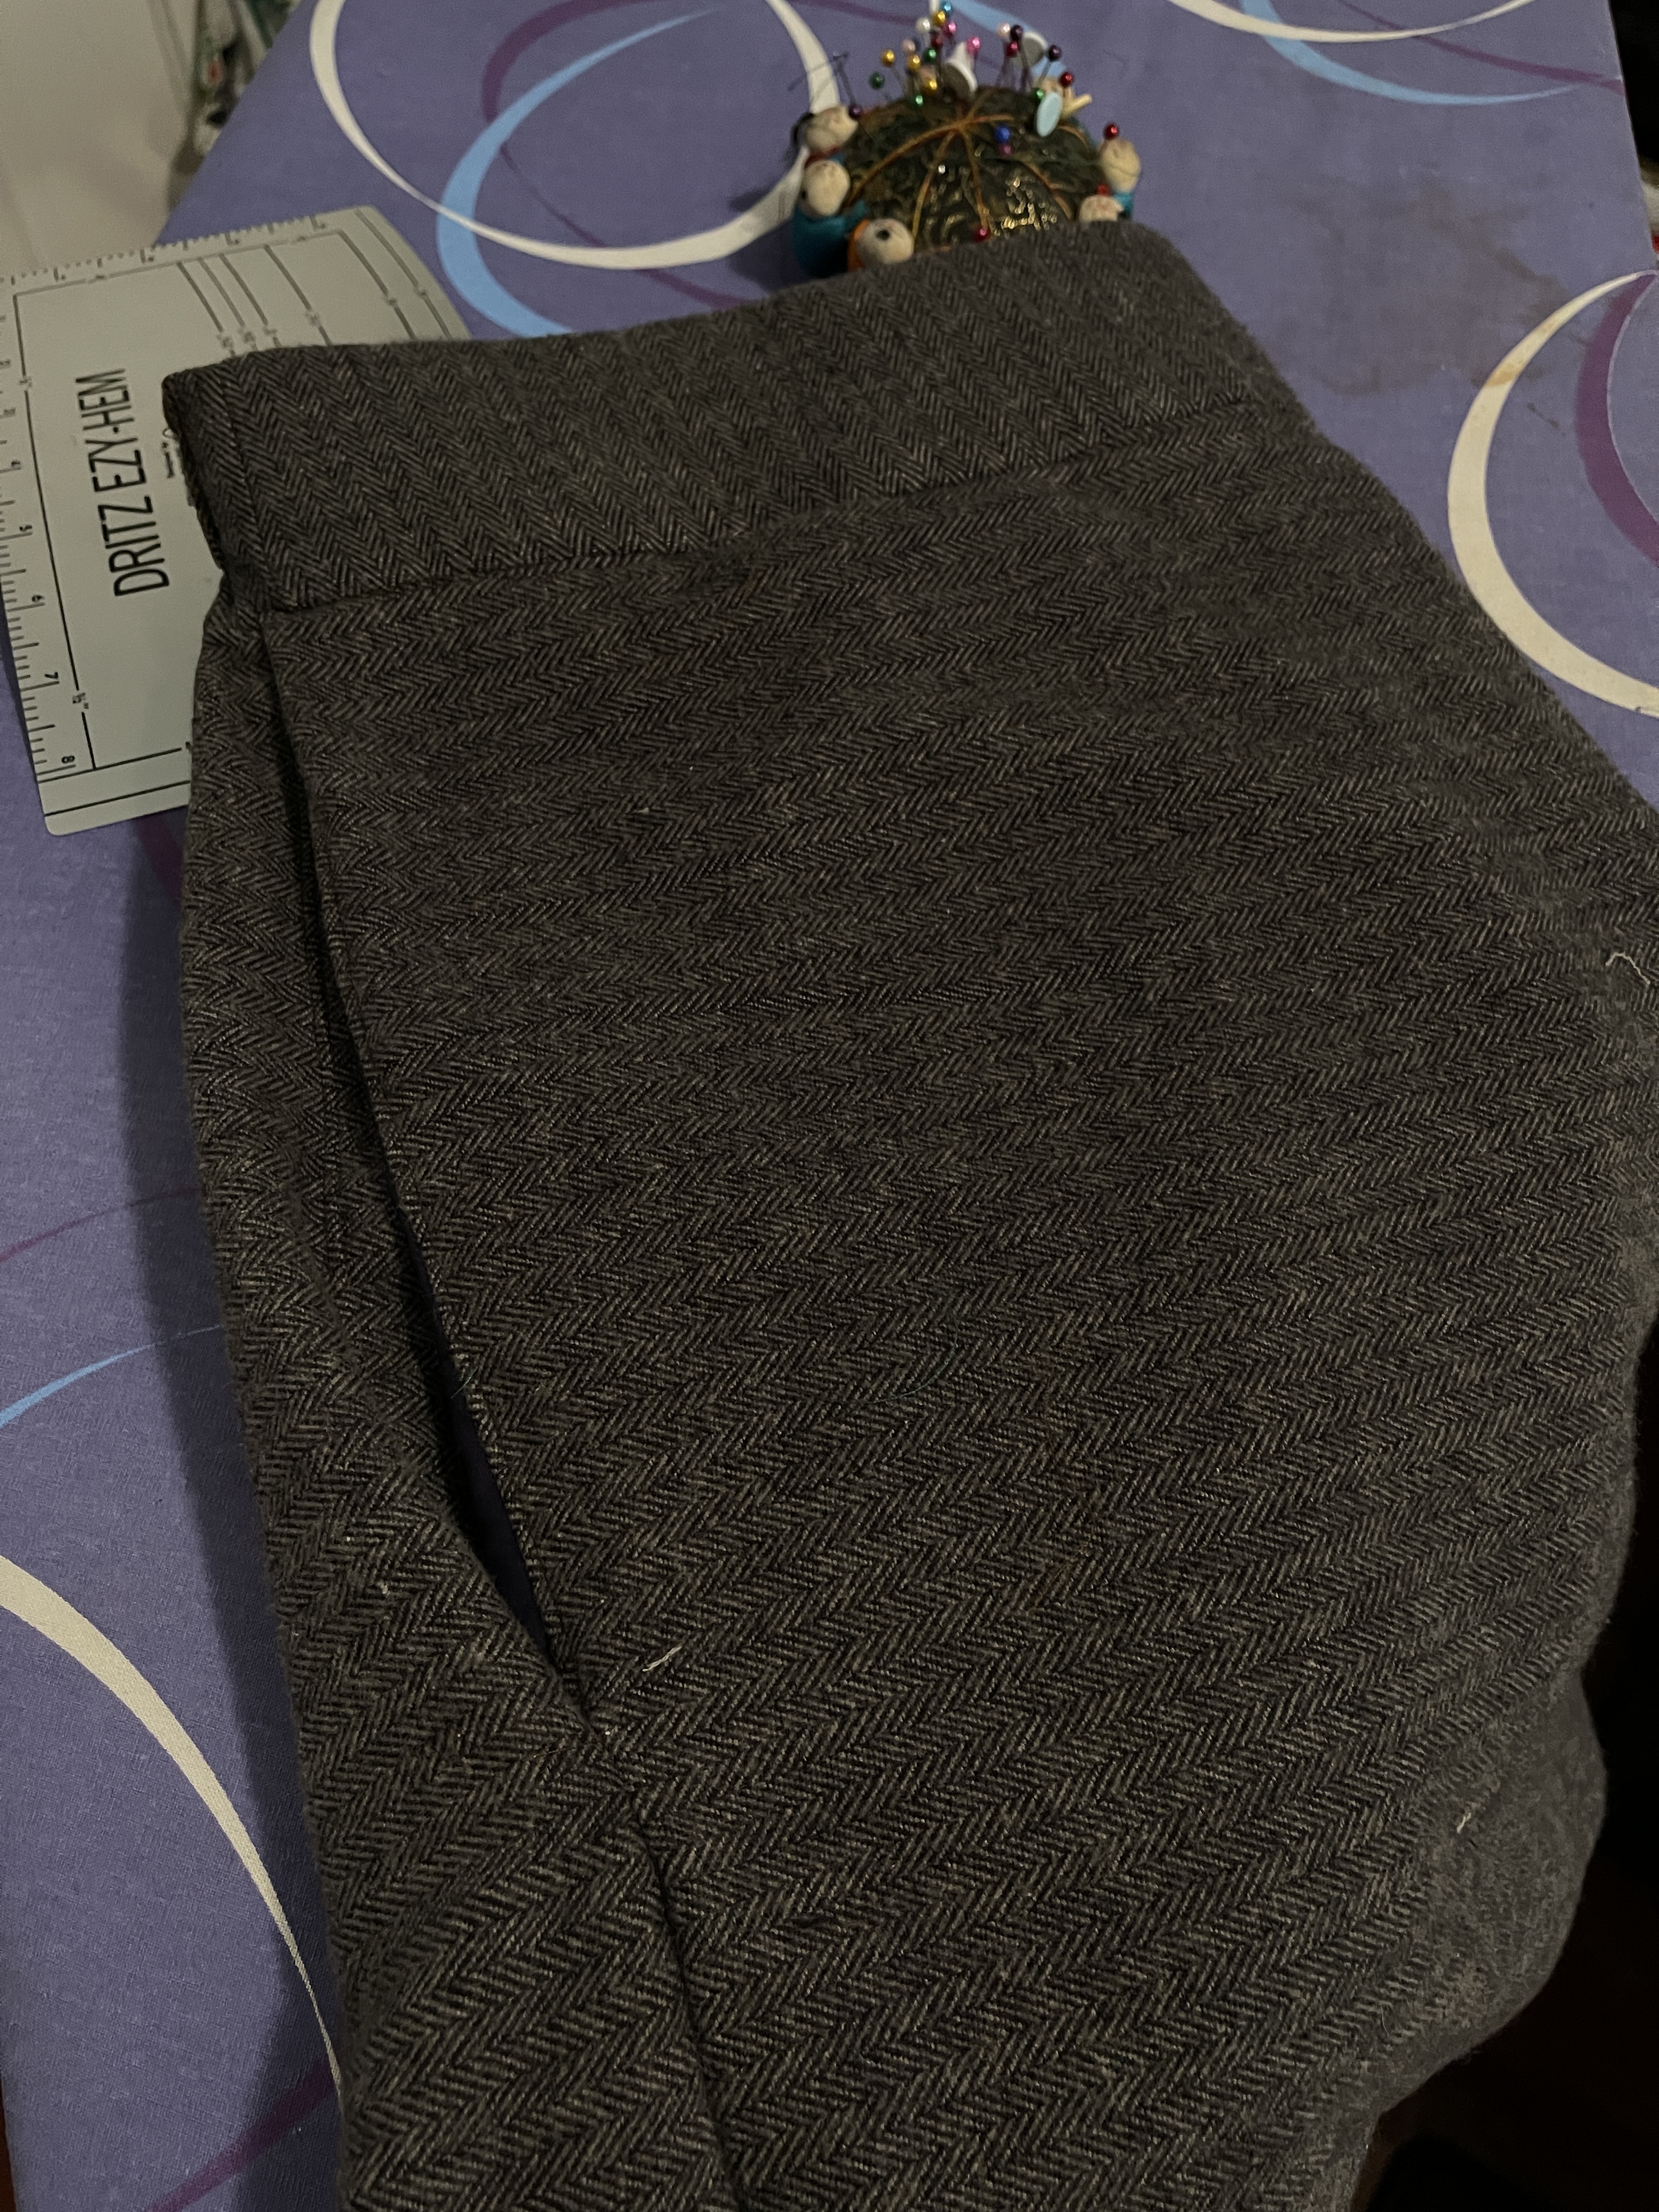
So what made this the most difficult make? Well, the zippers, mostly. But also it was one million pieces. I was forced to be organized to keep everything straight, which of course isn’t a bad thing. The twill was the same on both sides, which is challenging, and I had to cut three of some pieces, and there was lining, main fabric, pocket lining, and interfacing to keep track of.


(I didn’t want to use the lining fabric for the pockets, in case it peeked out, and I wanted something lighter than the twill, so I went with some of the cotton sateen I’d bought at Mood in June.)
I really wanted to get it done over the weekend, but after donating blood on Saturday, I had no energy (which is weird, it doesn’t usually affect me) so I could only do a little bit at a time. Which was probably a good thing. Rushing through a project like this would not have been good.
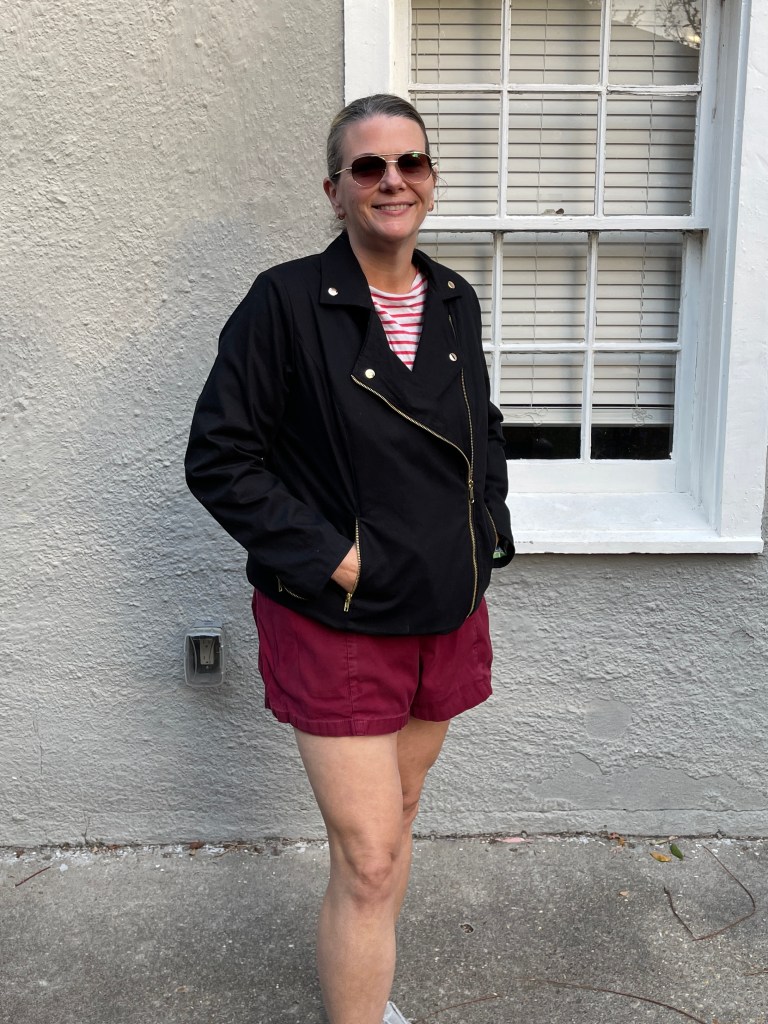
But I got there in the end, and finished it up last night. Miles took some pictures of me in it.


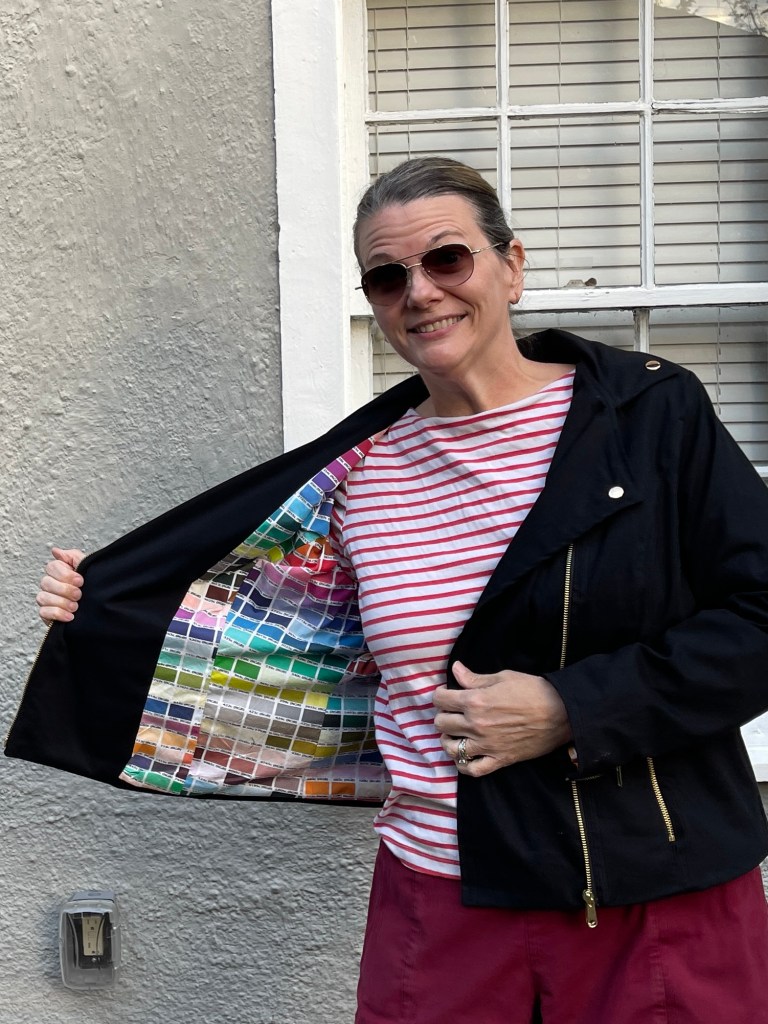

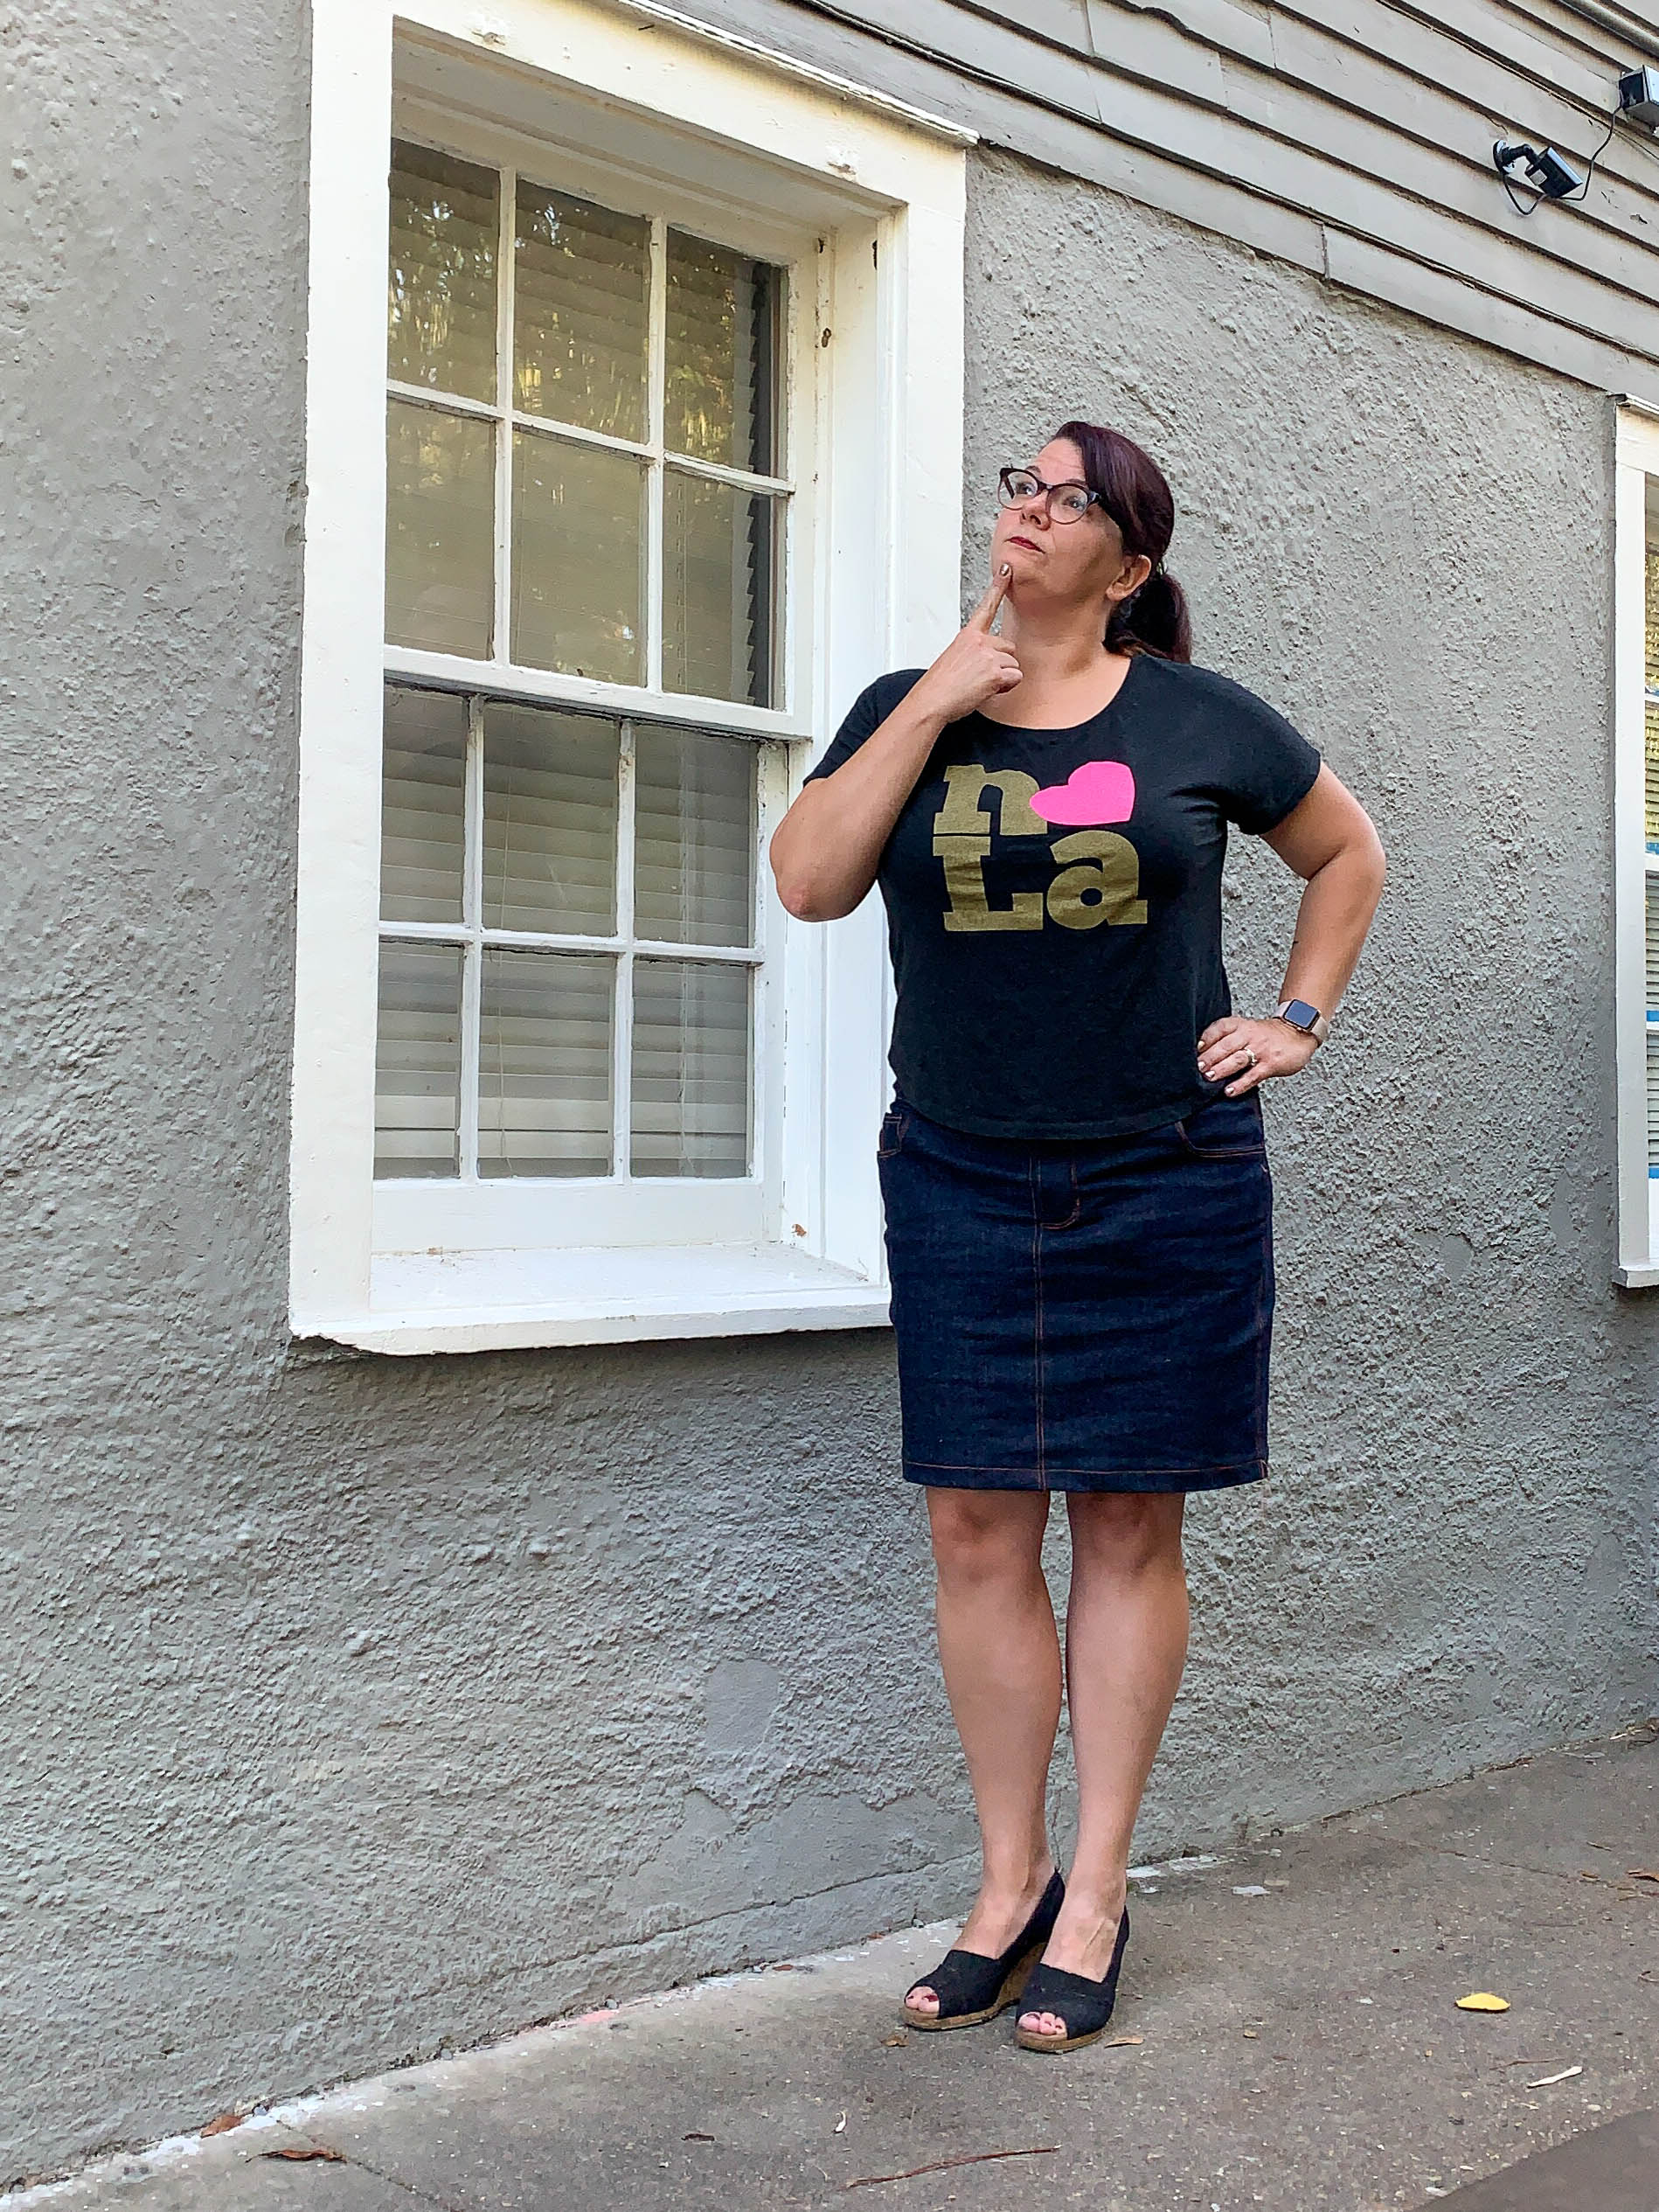
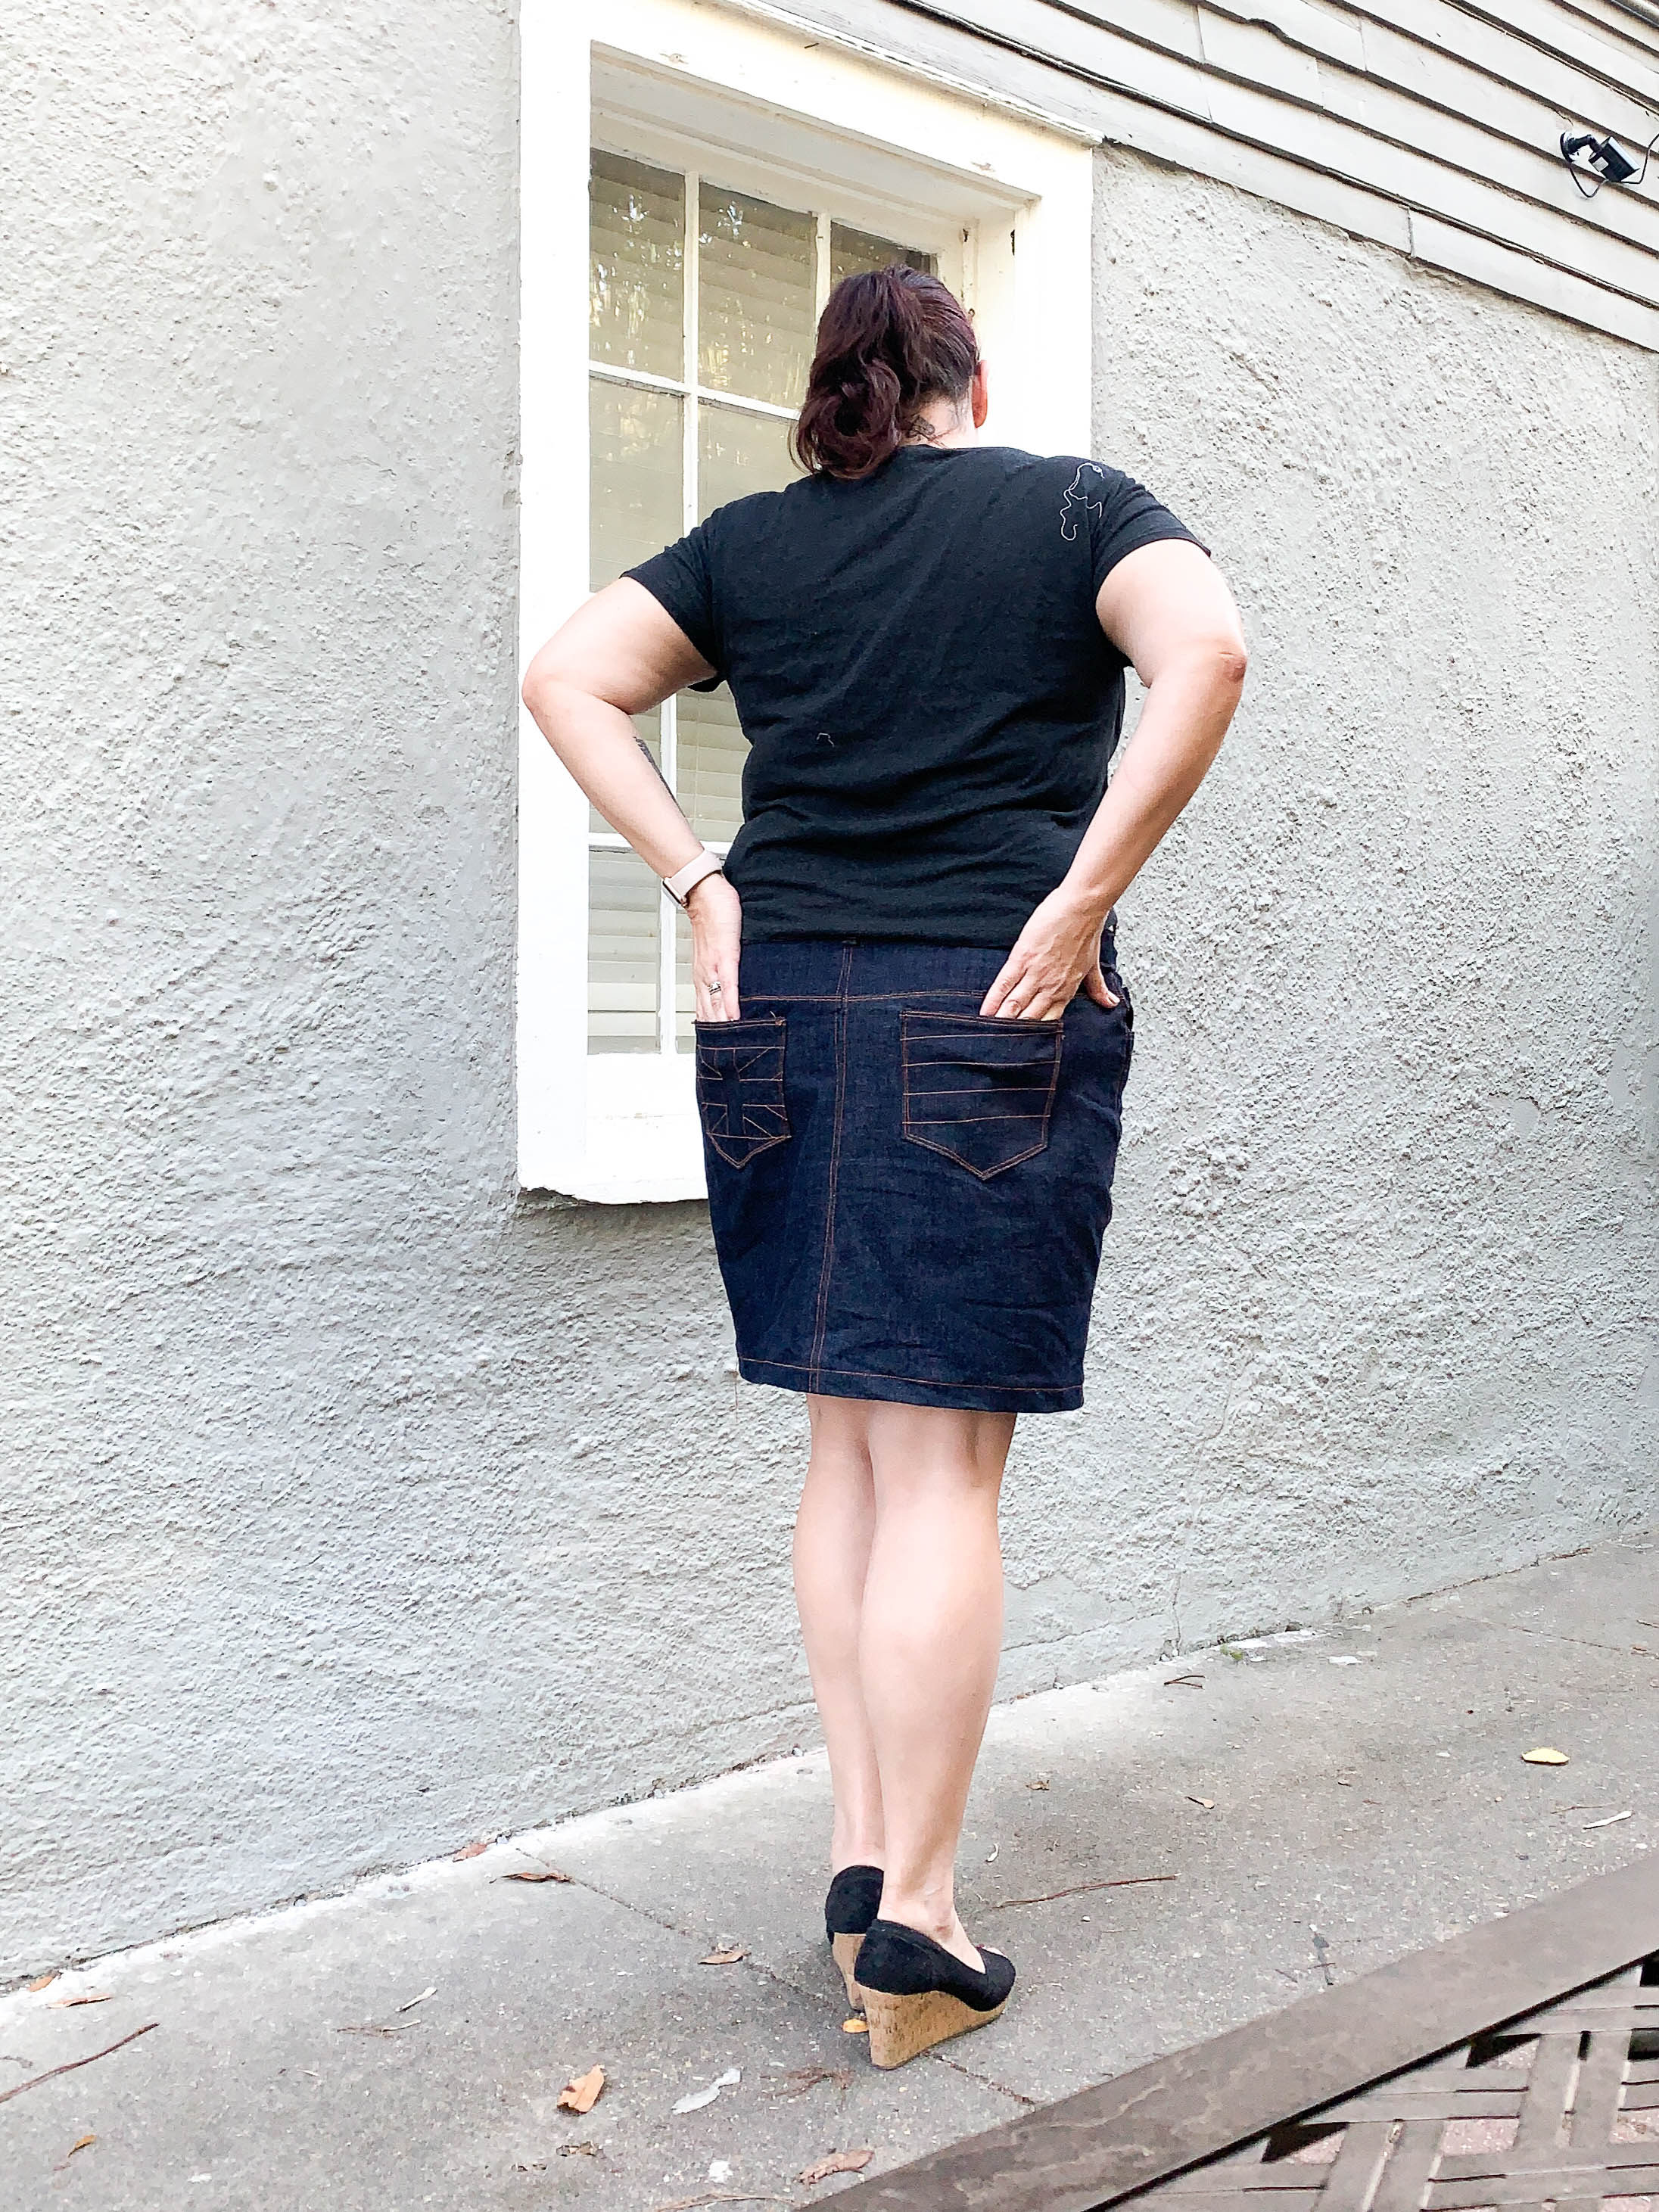
And a few more detail shots:


(I realize that making this in 6 days wouldn’t merit a “finally fucking finished” tag for most people, but it felt like an eon to me.)
So, I say this was challenging, but thanks to videos and a sewalong and the usual excellent instructions, it wasn’t impossible or overly frustrating (except for the removing zipper teeth part.)
I’m quite proud of how the lining came out (isn’t peeking out anywhere it shouldn’t) and even though the pocket and sleeve zippers are far from perfect, they function and aren’t a total mess. So all in all, I’m really happy with how it came out!


 I’ve been eyeing


